More dynamic panels for your dynamic doors (updated)

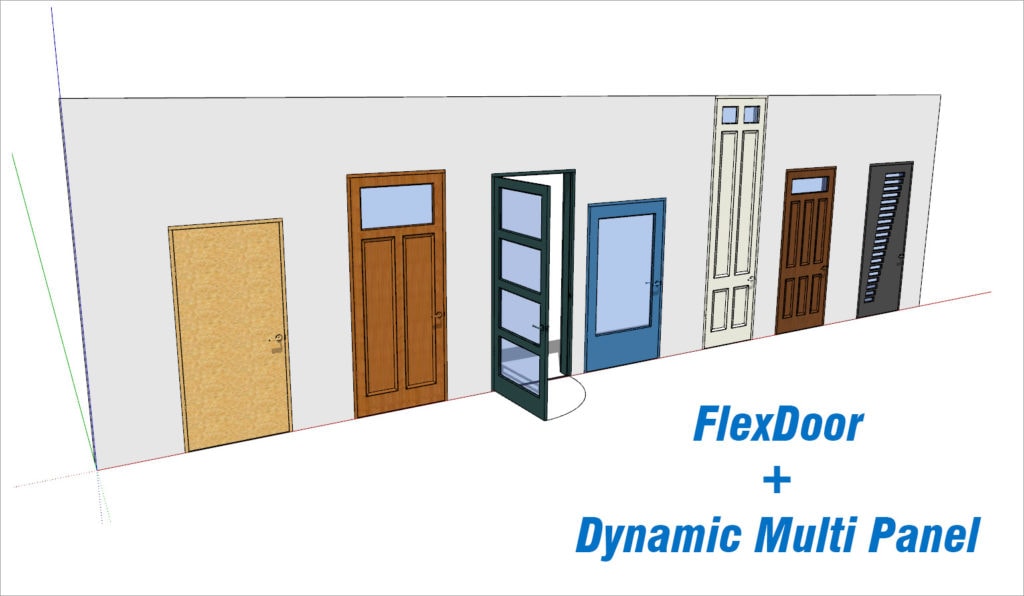
You can make countless dynamic door variations by combining the FlexDoor dynamic component with the freely available Dynamic Multi Panel by the great DC developer pcmoor.
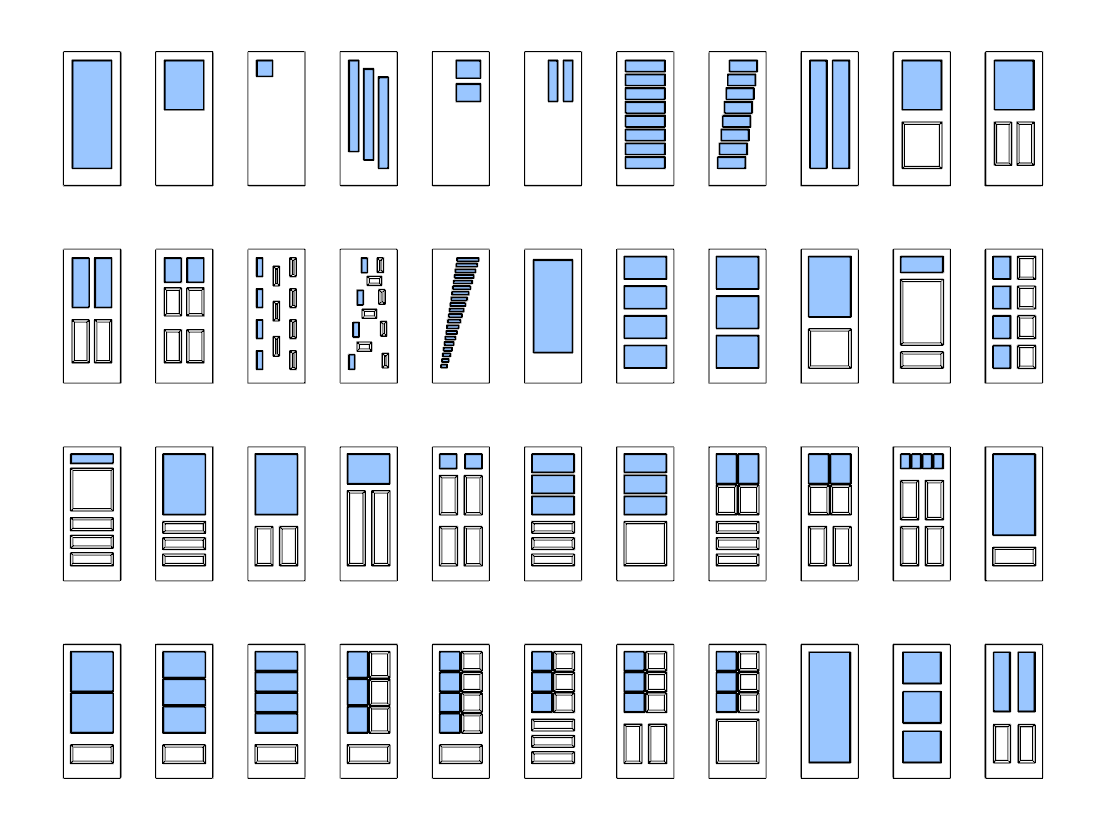
The Multi Panel contains 44 presets based on Simpson doors. For each preset you can specify if the panels are solid or glass, or you can go even further and create your own custom designs by changing the preset settings - The sky is the limit!

Video 1: Combination, Presets, Copies & Options
In this video we show:
- How to combine the components by inserting the Multi Panel into FlexDoor.
- How to change presets for the panel.
- How to make copies of the door - IMPORTANT!
Video Summary
Combine FlexDoor + Multi Panel
1. Pull in a FlexDoor component

2. Download the Dynamic Multi Panel from the 3D Warehouse.
3. Set FlexDoor's door panel width to 3.81cm (or 1.5").
4. Place and scale the new door panel so it fits exactly with FlexDoor's door panel.
5. Cut (CTRL+X).
6. Double click your way into FlexDoor until you reach the doorClearPanel sub-component.
7. Right Click > Scale Definition.
8. Delete or hide the geometry that is inside doorClearPanel.
9. Paste In Place. The new door panel is now integrated into FlexDoor.
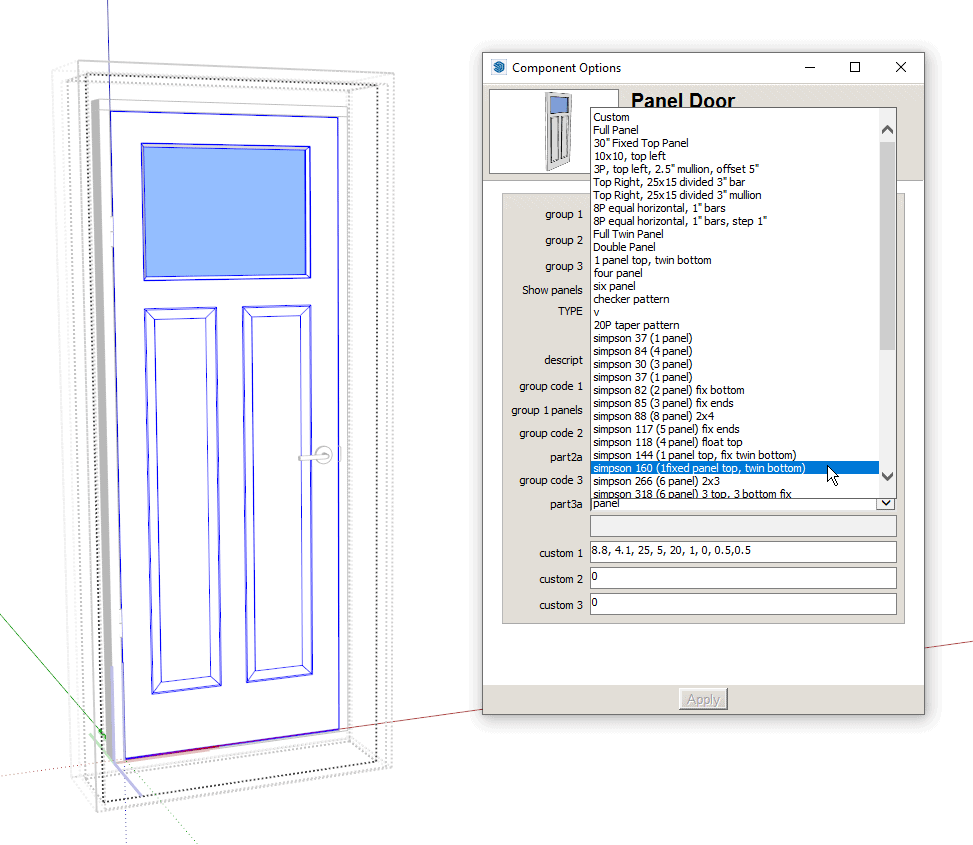
10. Choose one of the door panel presets ('Type').
11. Go one more level in to change the panel's material.
Making copies of the door for new variations
When making a copy of the door it is important to use the 'Make Totally Unique' tool so the dynamics of the panel work correctly.
1. Make a copy of the newly combined door.
2. Make the new copy totally unique with the Make Totally Unique tool.
3. Select the dynamic panel.
4. Choose one of the door panel presets.
Additional Options
You can also switch between solid and glass panels and choose if you want the panels only on one side of the door, or on both sides.

Video 2: Full Customization
In this video we show how to create your own custom door designs by modifying the Multi Panel's preset settings to suit your needs.
Video Summary
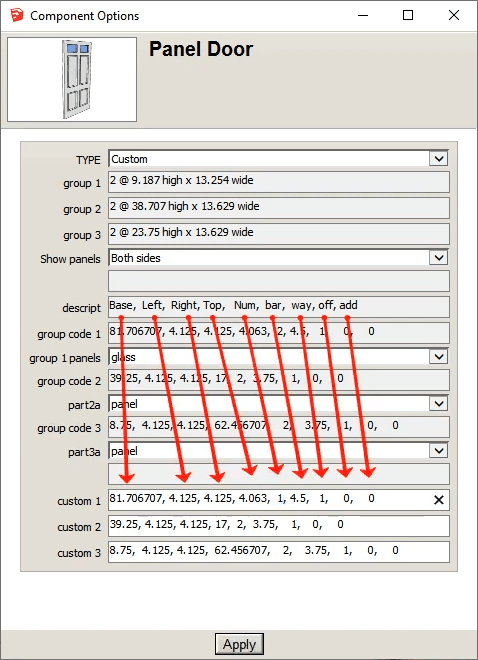
1. Copy and paste the settings for each group from an existing preset into the custom fields.
2. In the 'Type' drop-down choose 'Custom' and hit Apply (or press Enter).
3. Modify the 9 parameters (in inches) for each of the custom groups:
-
- Base - distance from the bottom
- Left - distance from the left
- Right - distance from the right
- Top - distance from the top
- Num - number of panels
- bar - distance between panels (separation bar)
- way - direction of placement (0 for horizontal, 1 for vertical)
- off - incremental panel position offset
- add - incremental panel lengthening

9 Parameters with their description (legend)

Make Totally Unique
This tool does what it says, it makes a component unique including all of its sub-components.
It helps making copies of the combined doors without the typical DC bug of components flying all over the place.

