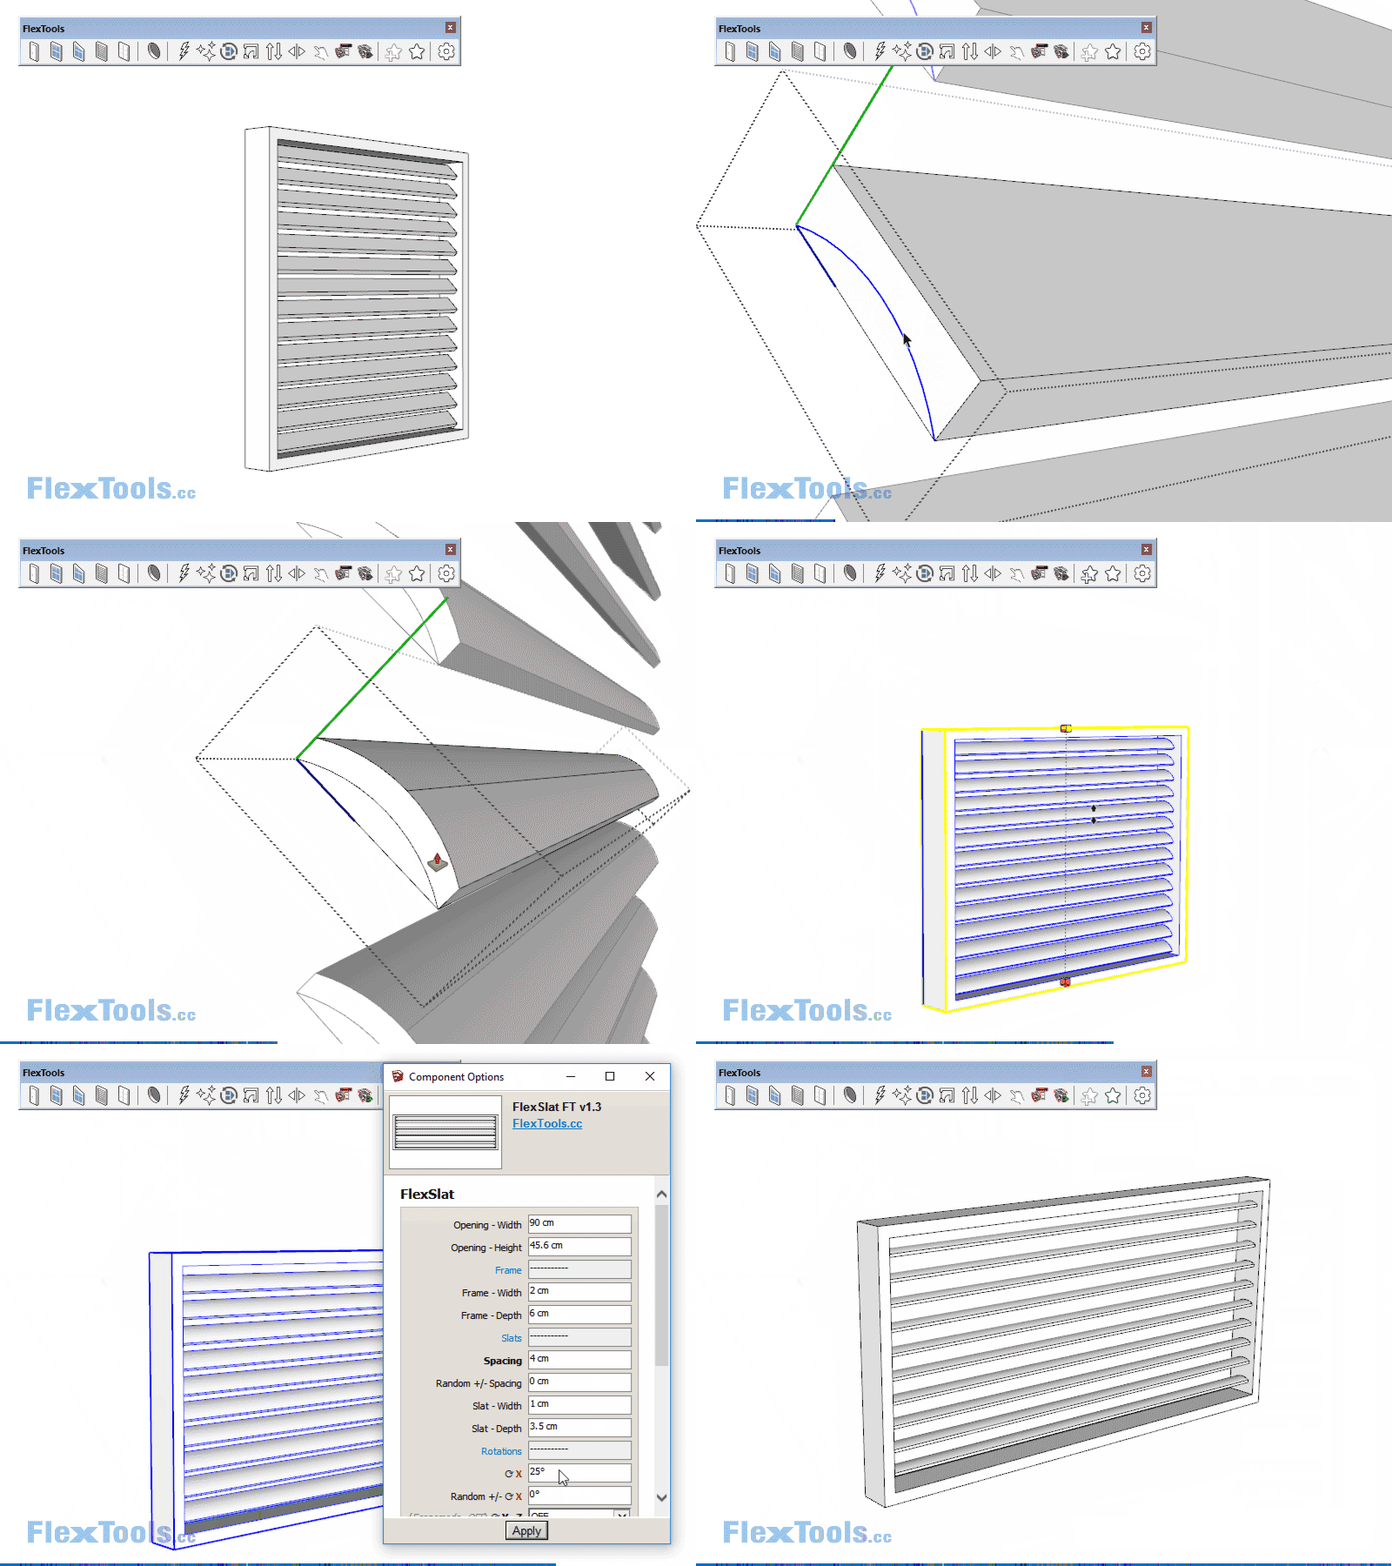

Getting Started
Workflow
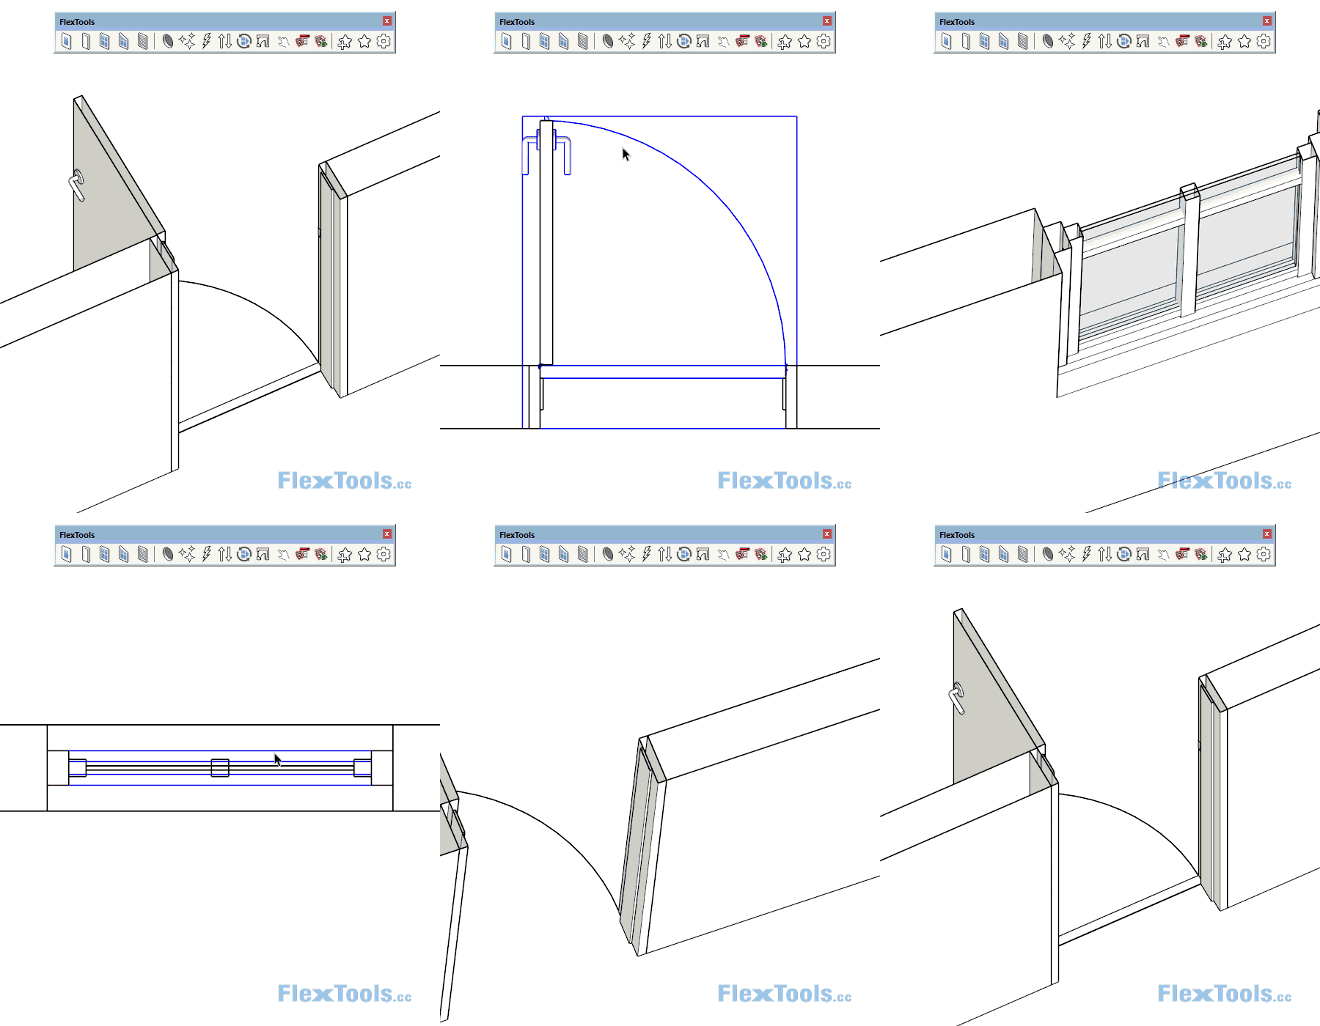
1. Choose the type of component you want to pull in - The choice is between a standard and a cutter component.

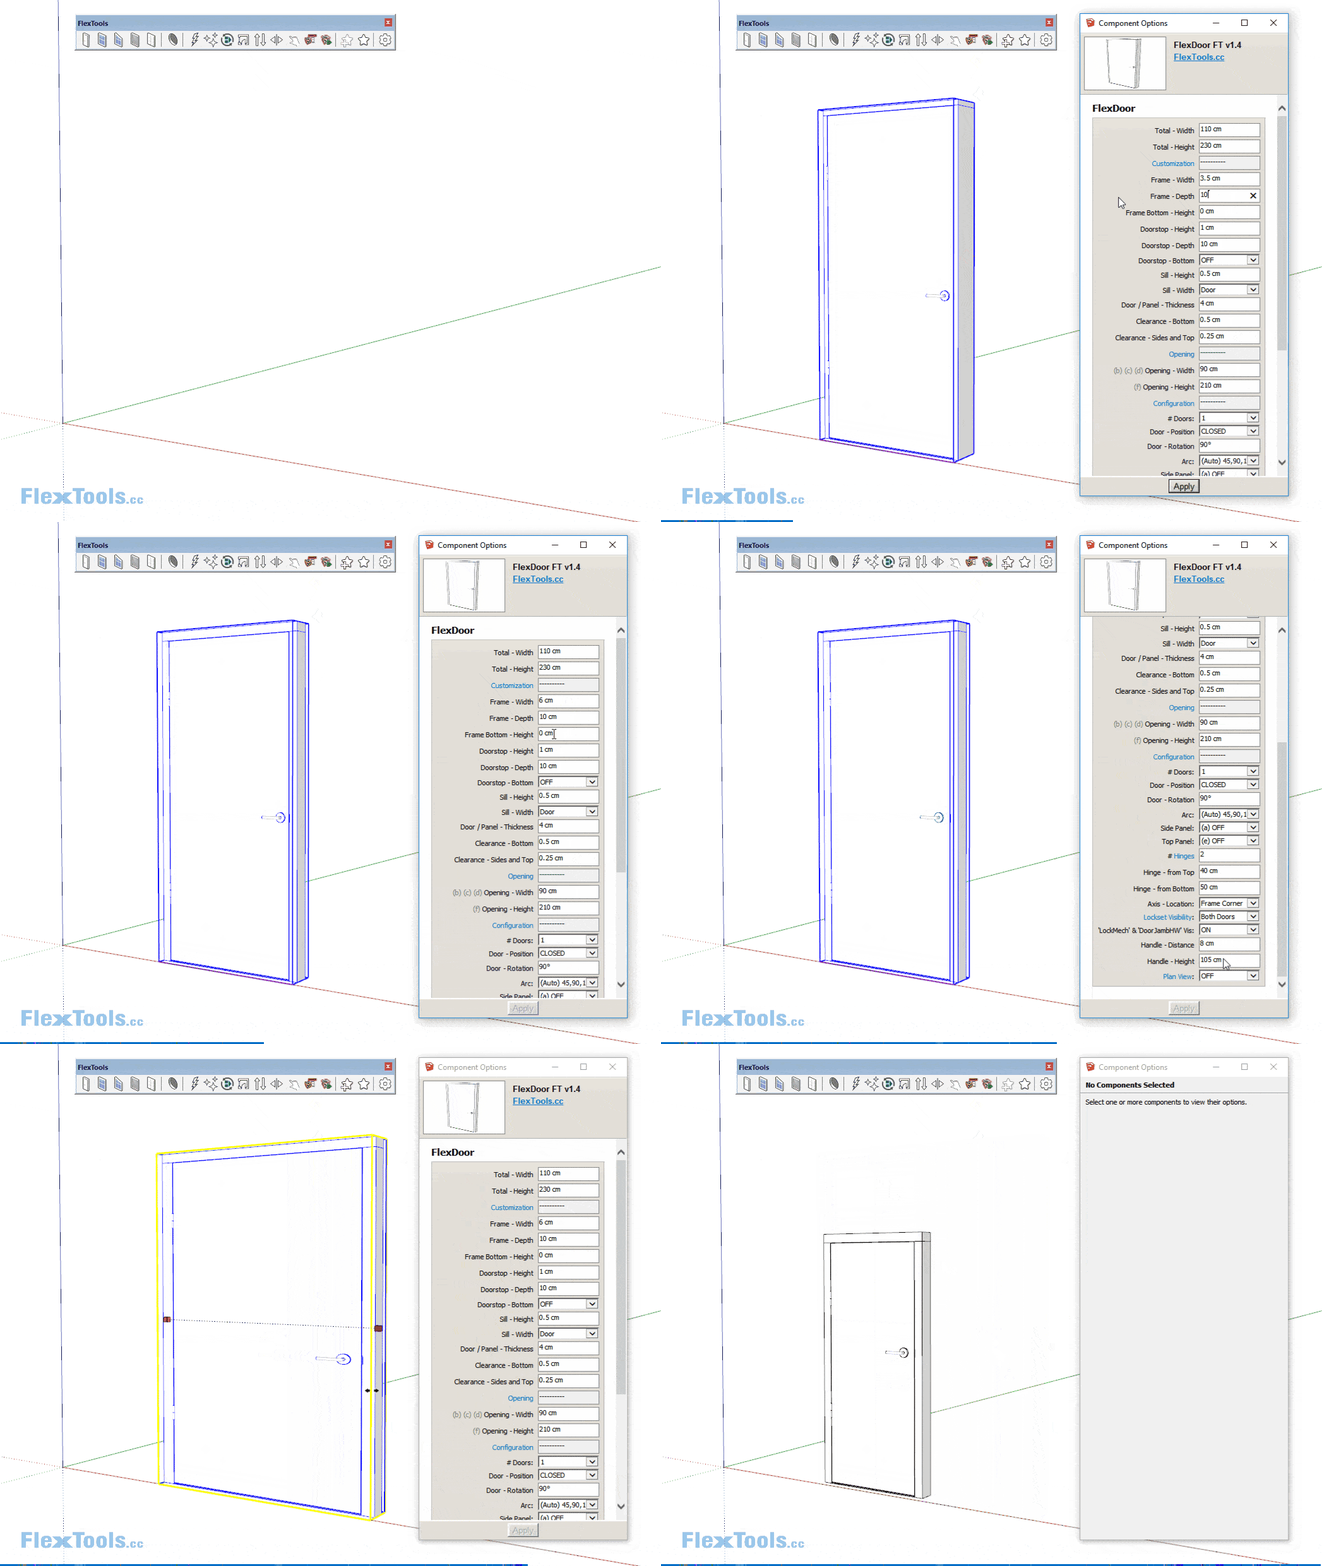
2. Pull in the component and scale it with Sketchup's scale tool so it fits into the desired opening.
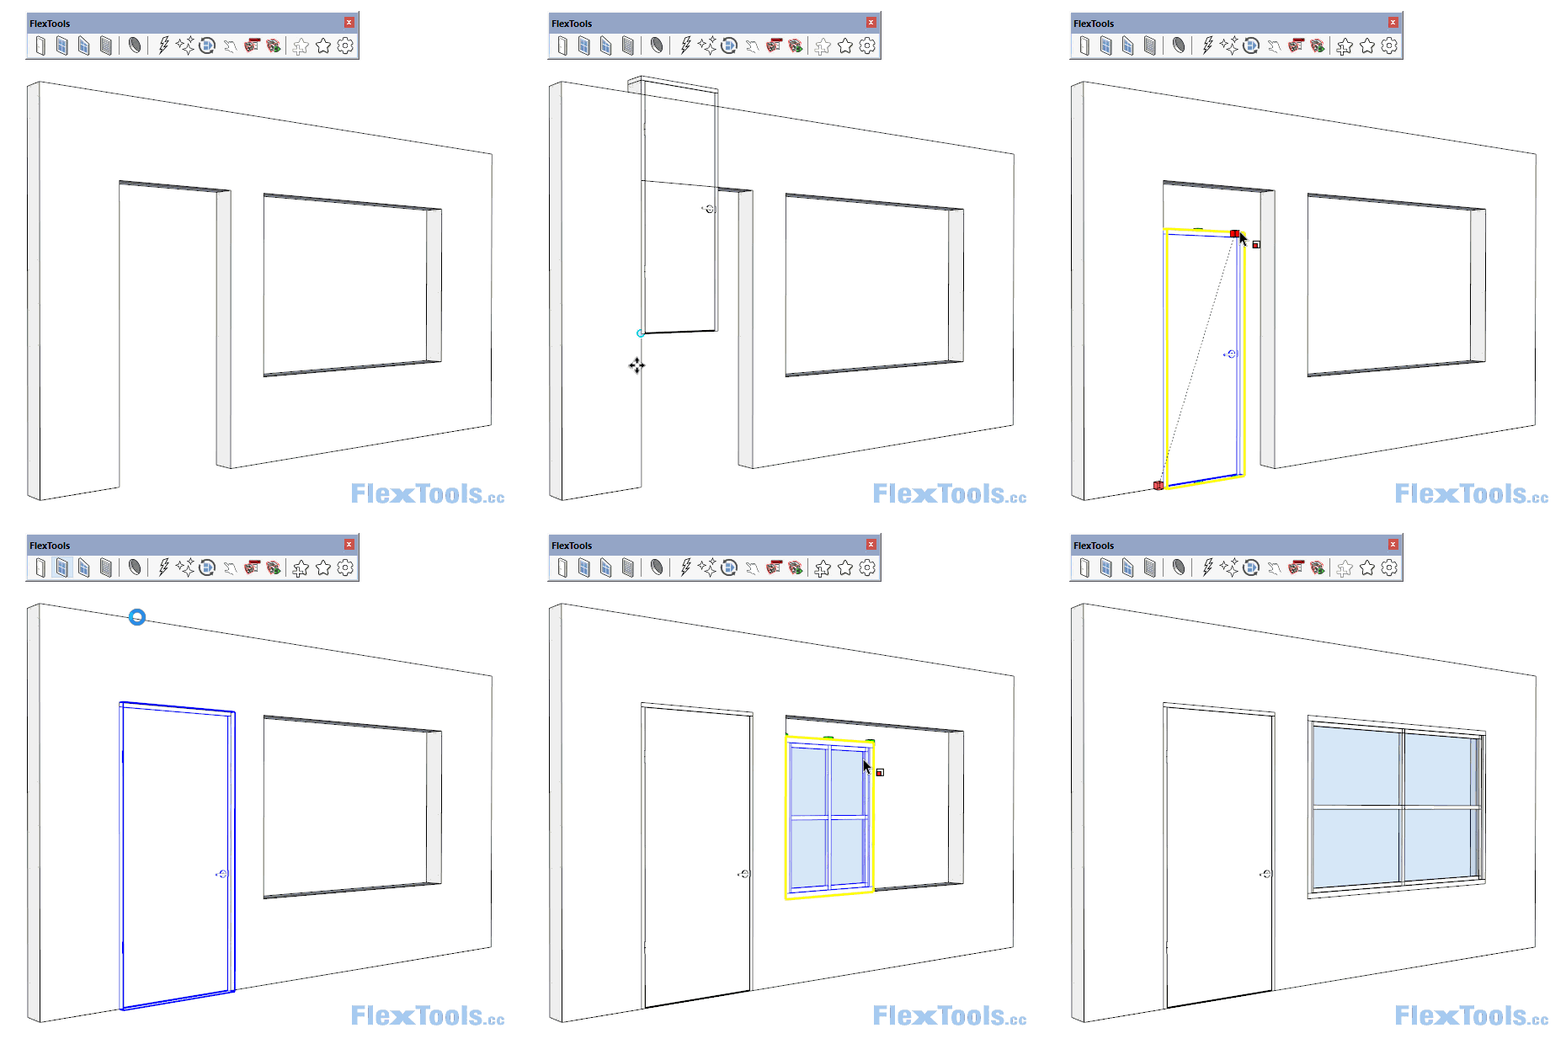
3. Adjust the dimensions of the different component elements through the Component Options Window.

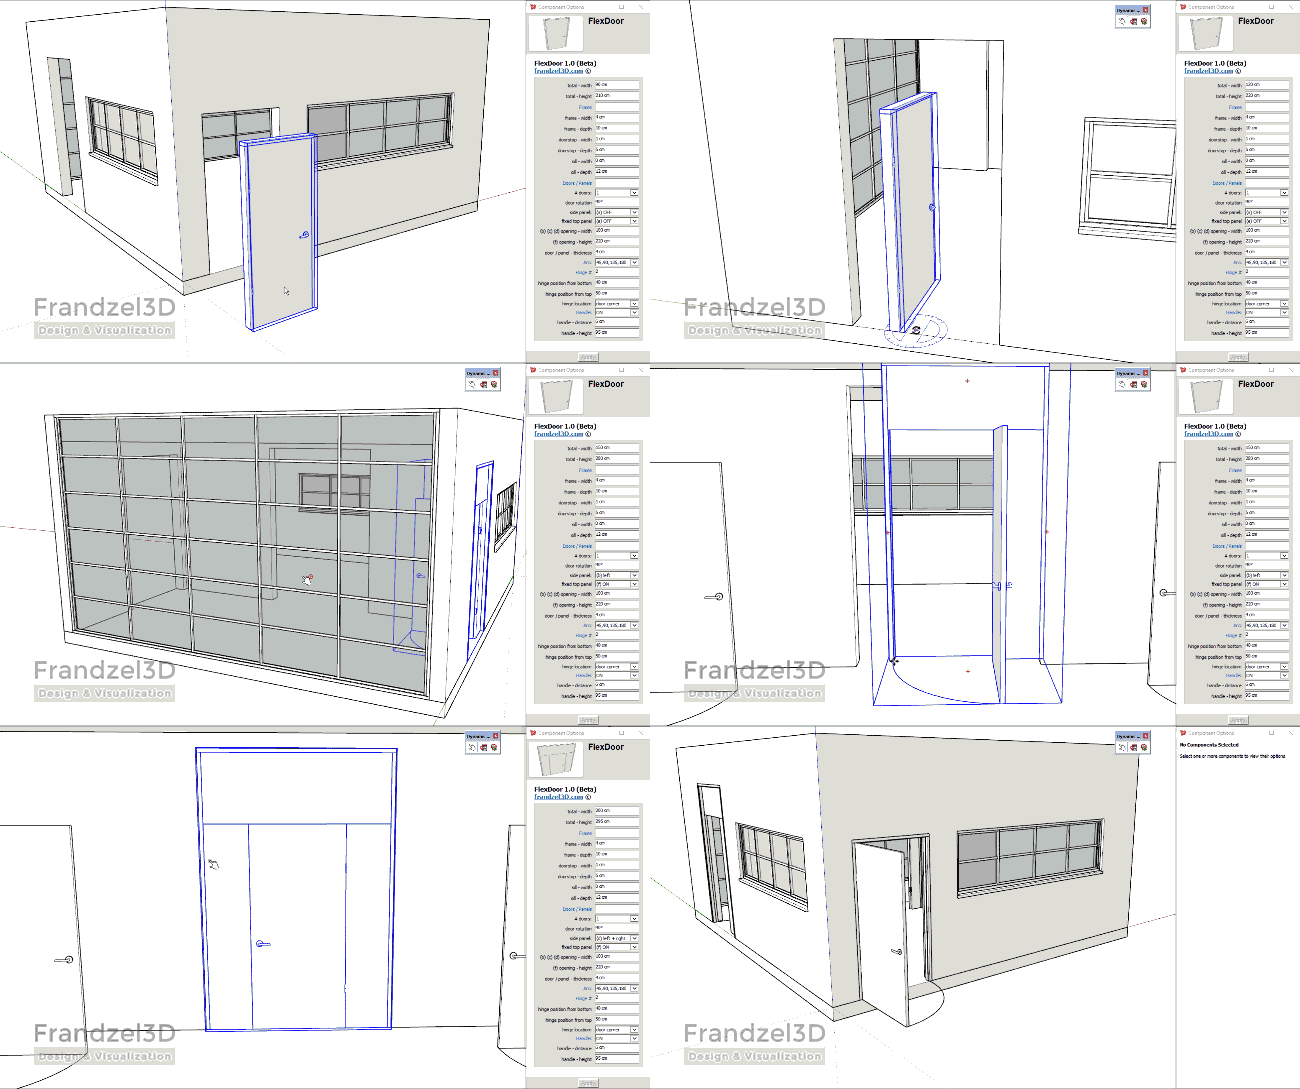
4. You can spread copies of the component around the model and re-scale and edit each copy (Step 3) as desired.
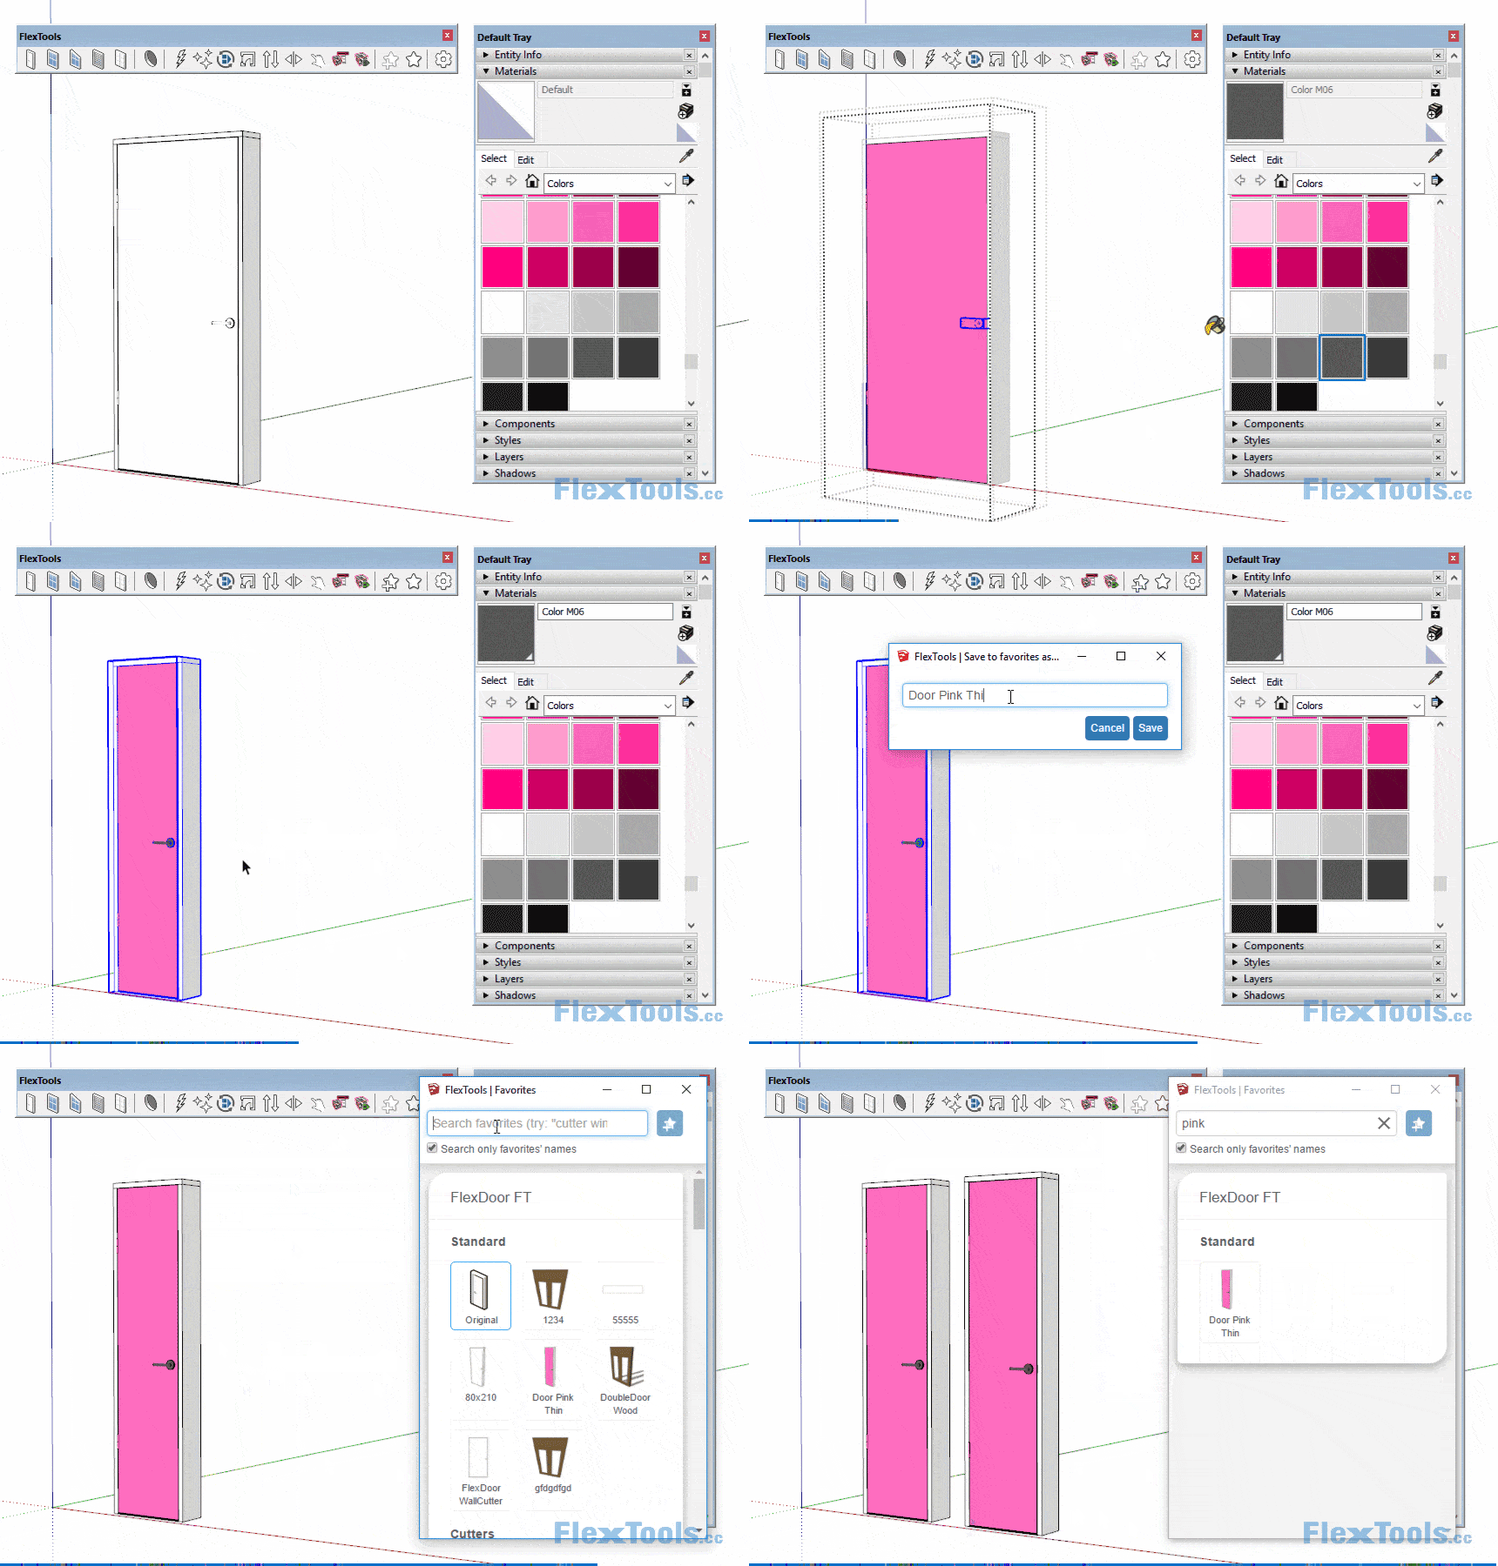
5. You can save the component into the Favorites Library (star icons) and quickly pull it in when you need it again. Materials that are applied to the sub-components will also be saved.
7. You can also manually edit the geometry that is inside each of the sub-components - just make sure that the boundaries of the sub-components aren't changed.
8. To get the components to look correctly in plans and in sections, use the PlanView tool.
