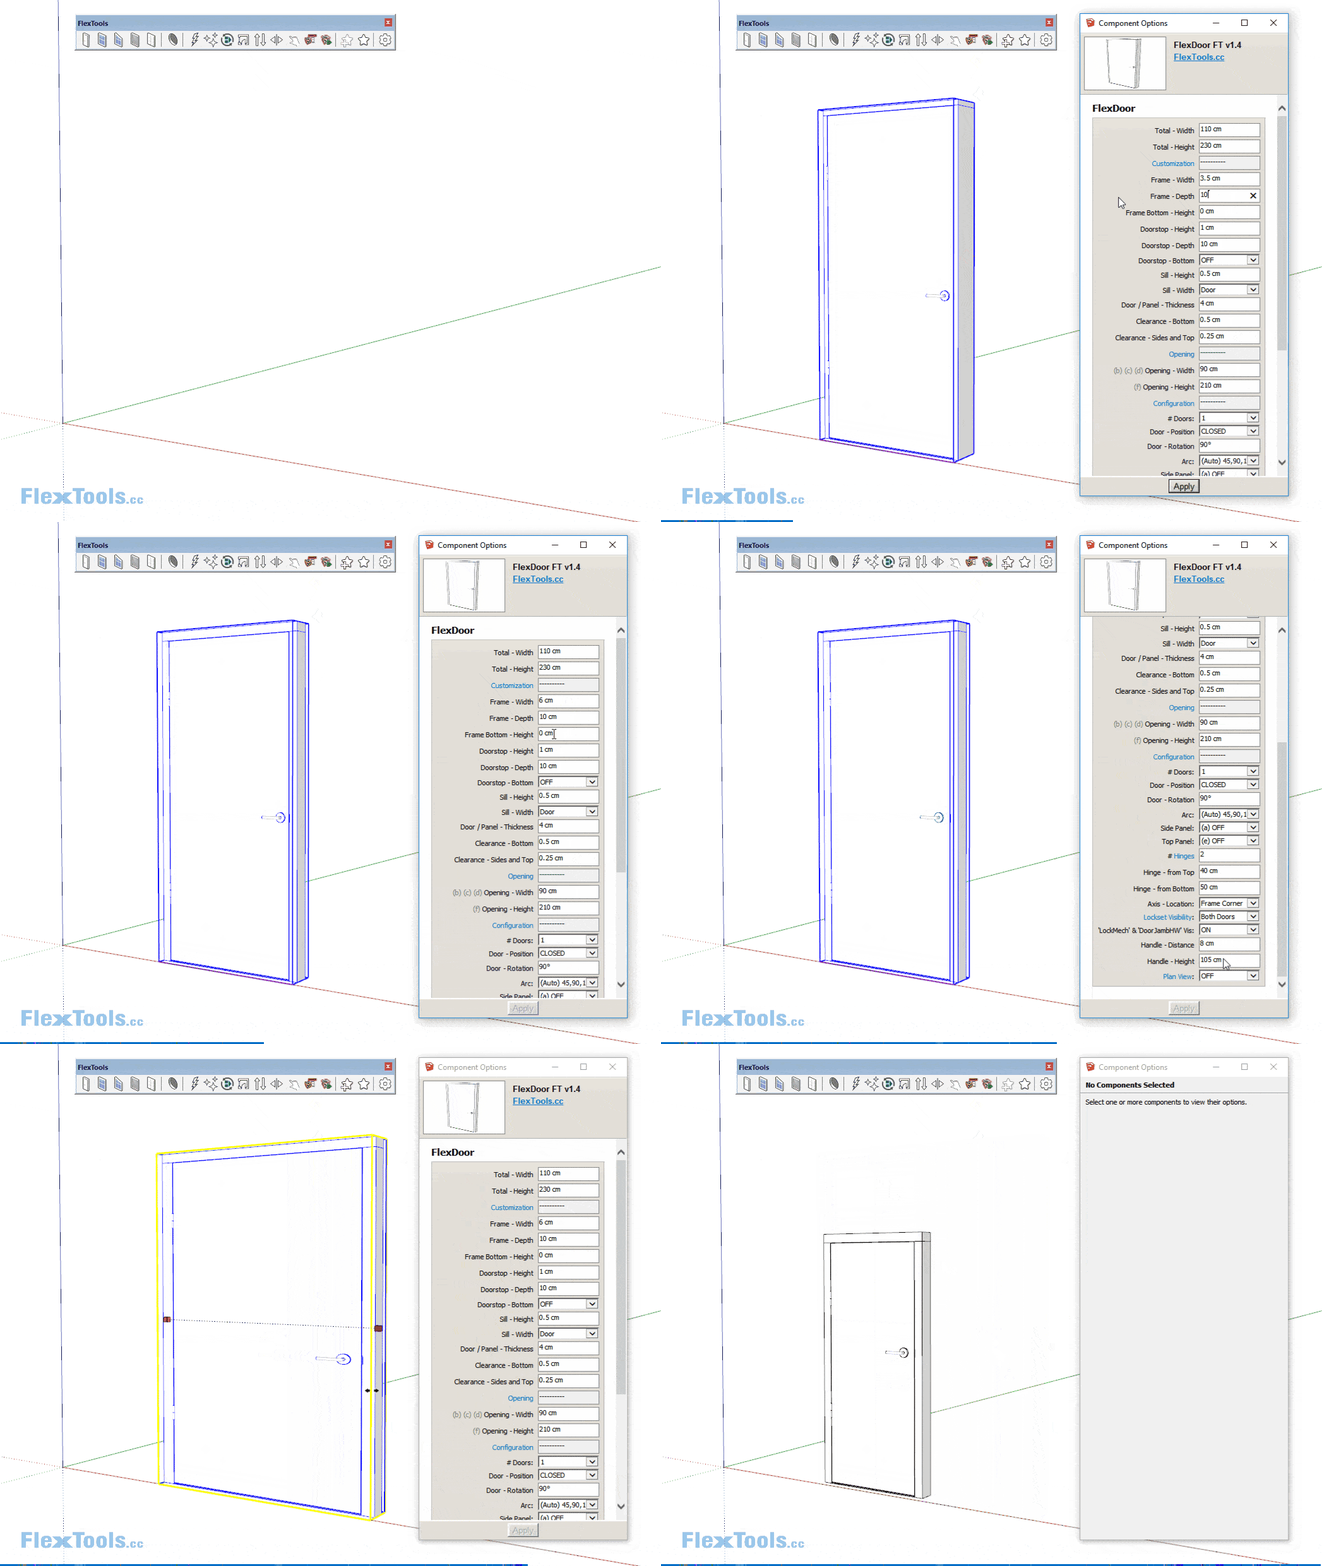

Getting Started
Workflow
Learn the basics of FlexTools in a few simple steps!
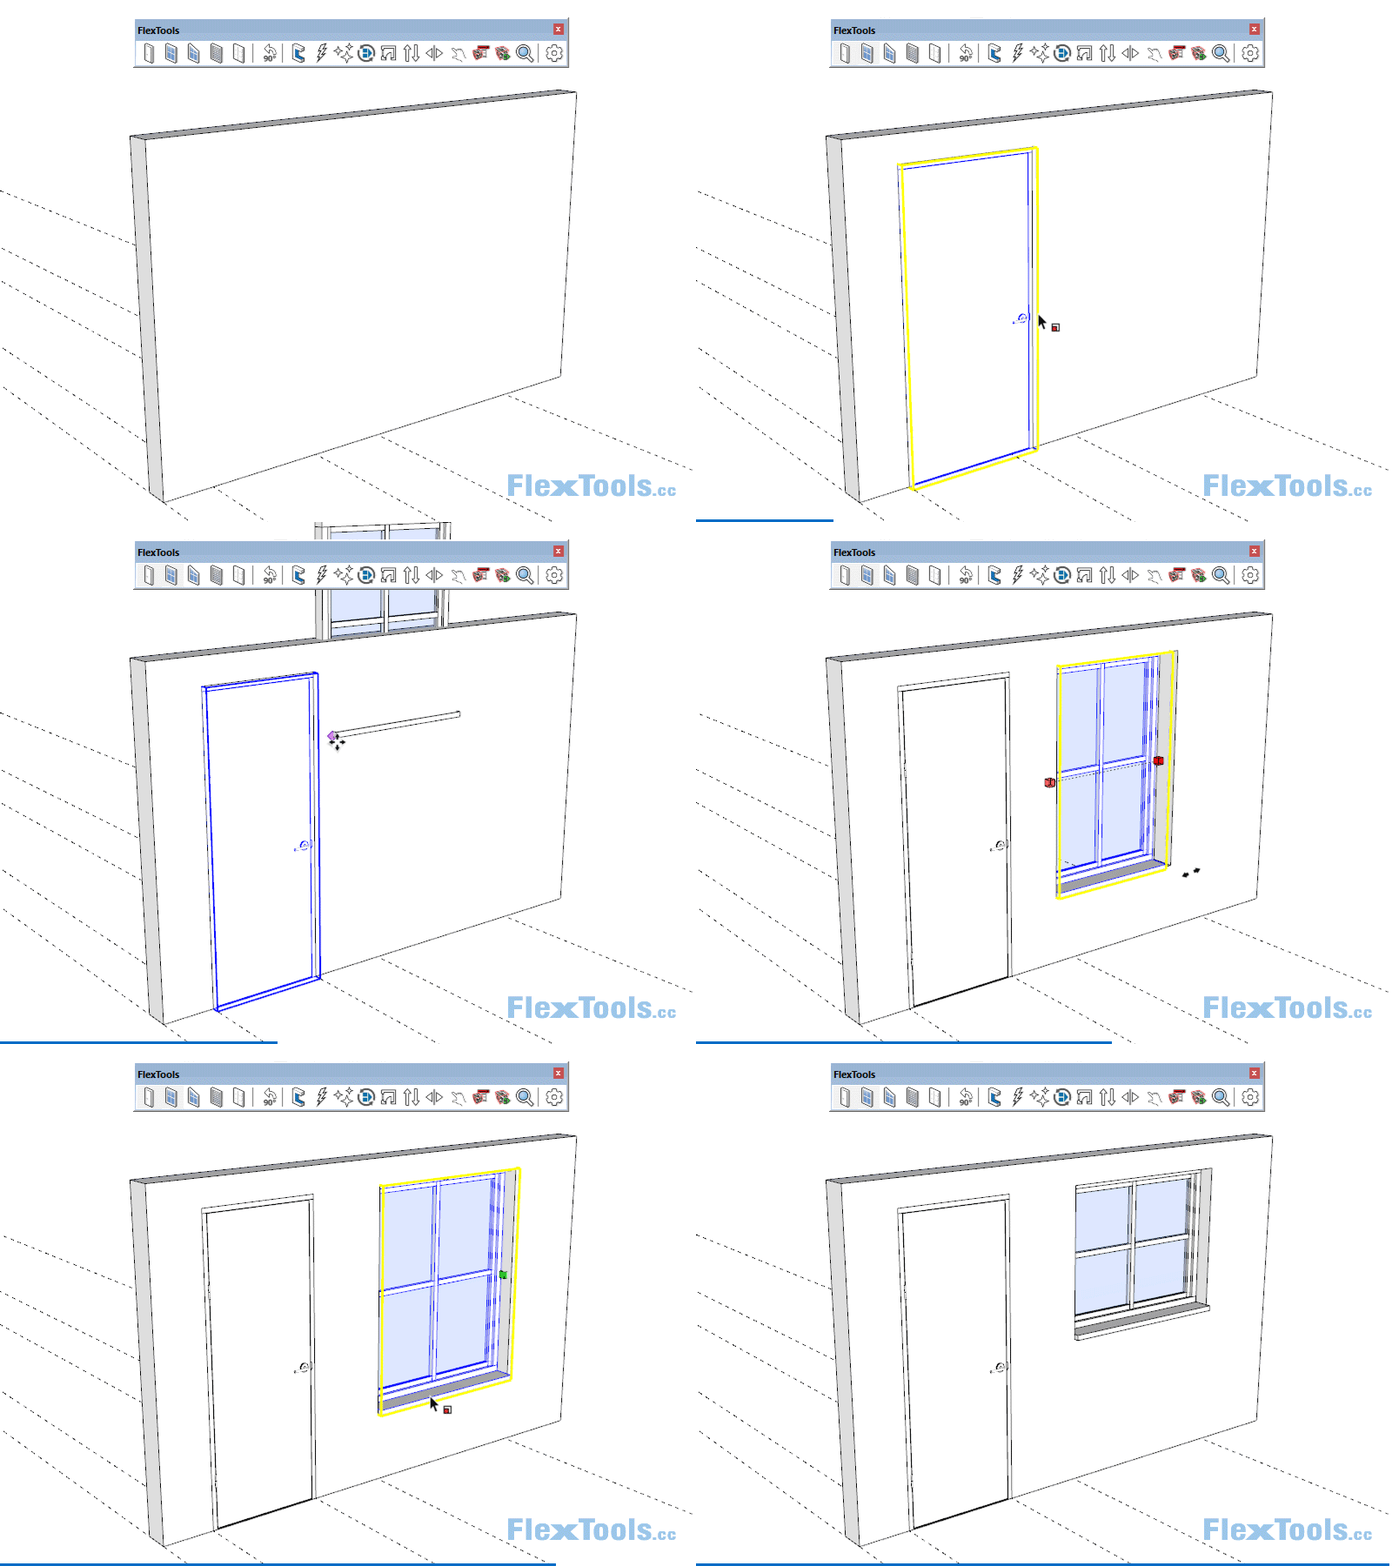
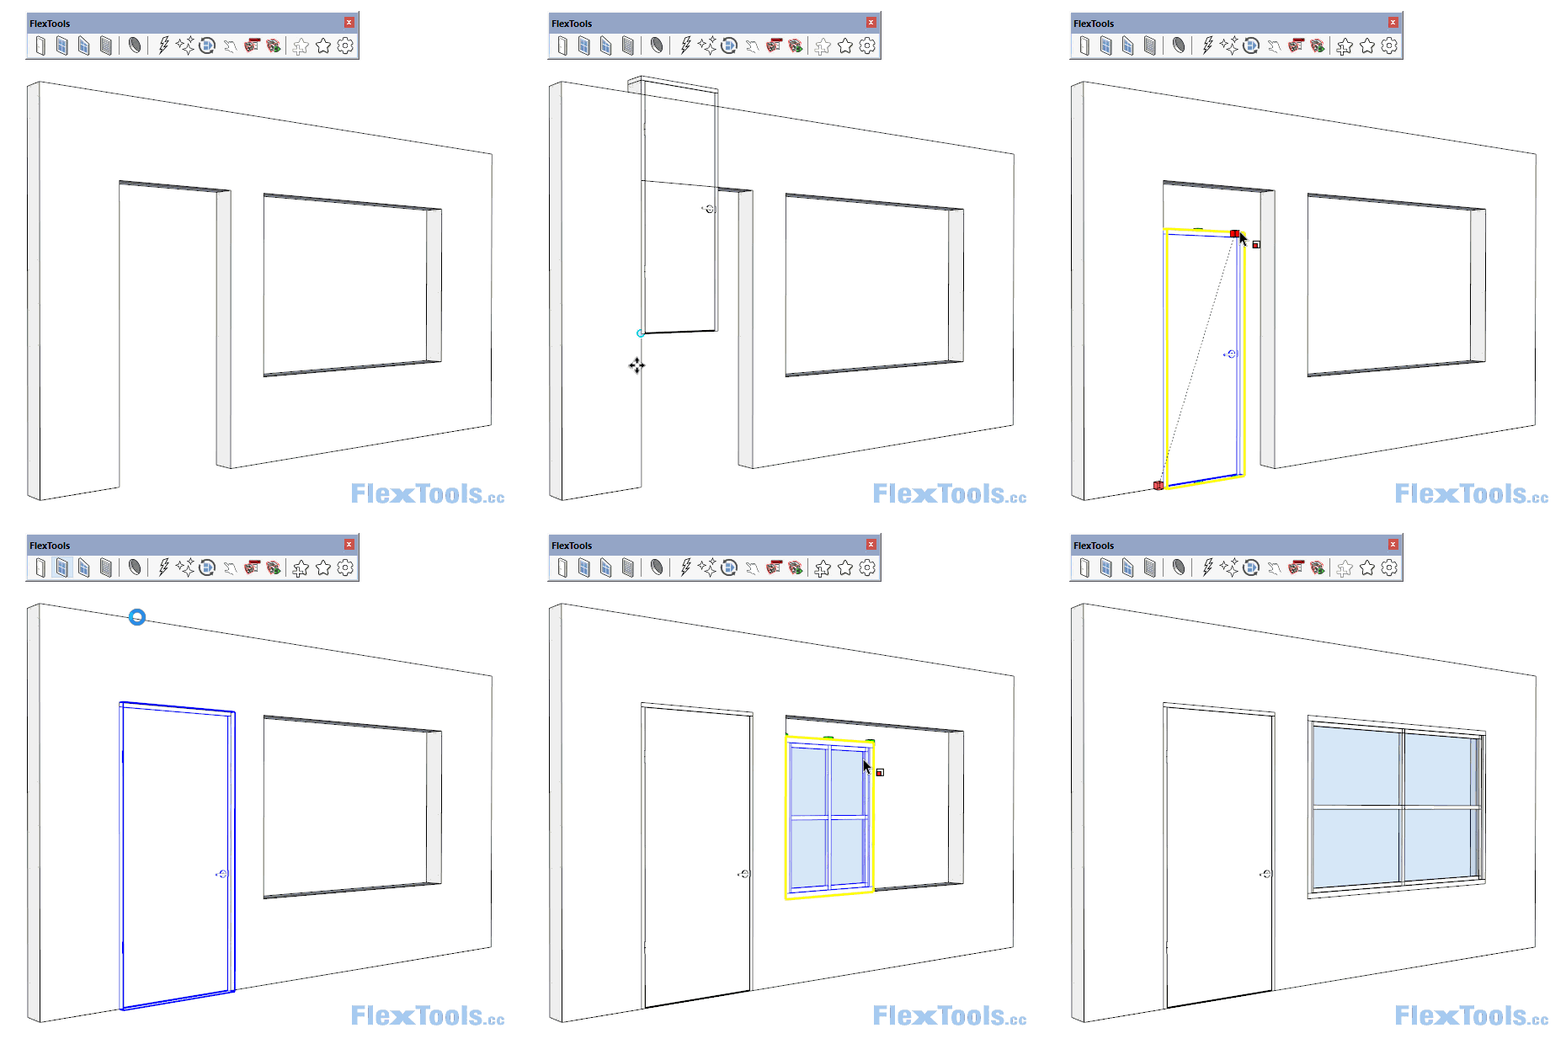
1. Place a Flex component anywhere on a wall component or group. It automatically glues to the wall and cuts an opening.
Move and scale the component to fit exactly where you need it using Sketchup's native Move and Scale tools.


2. Adjust dimensions, glass divisions, visibility of the various component elements through the Component Options window.

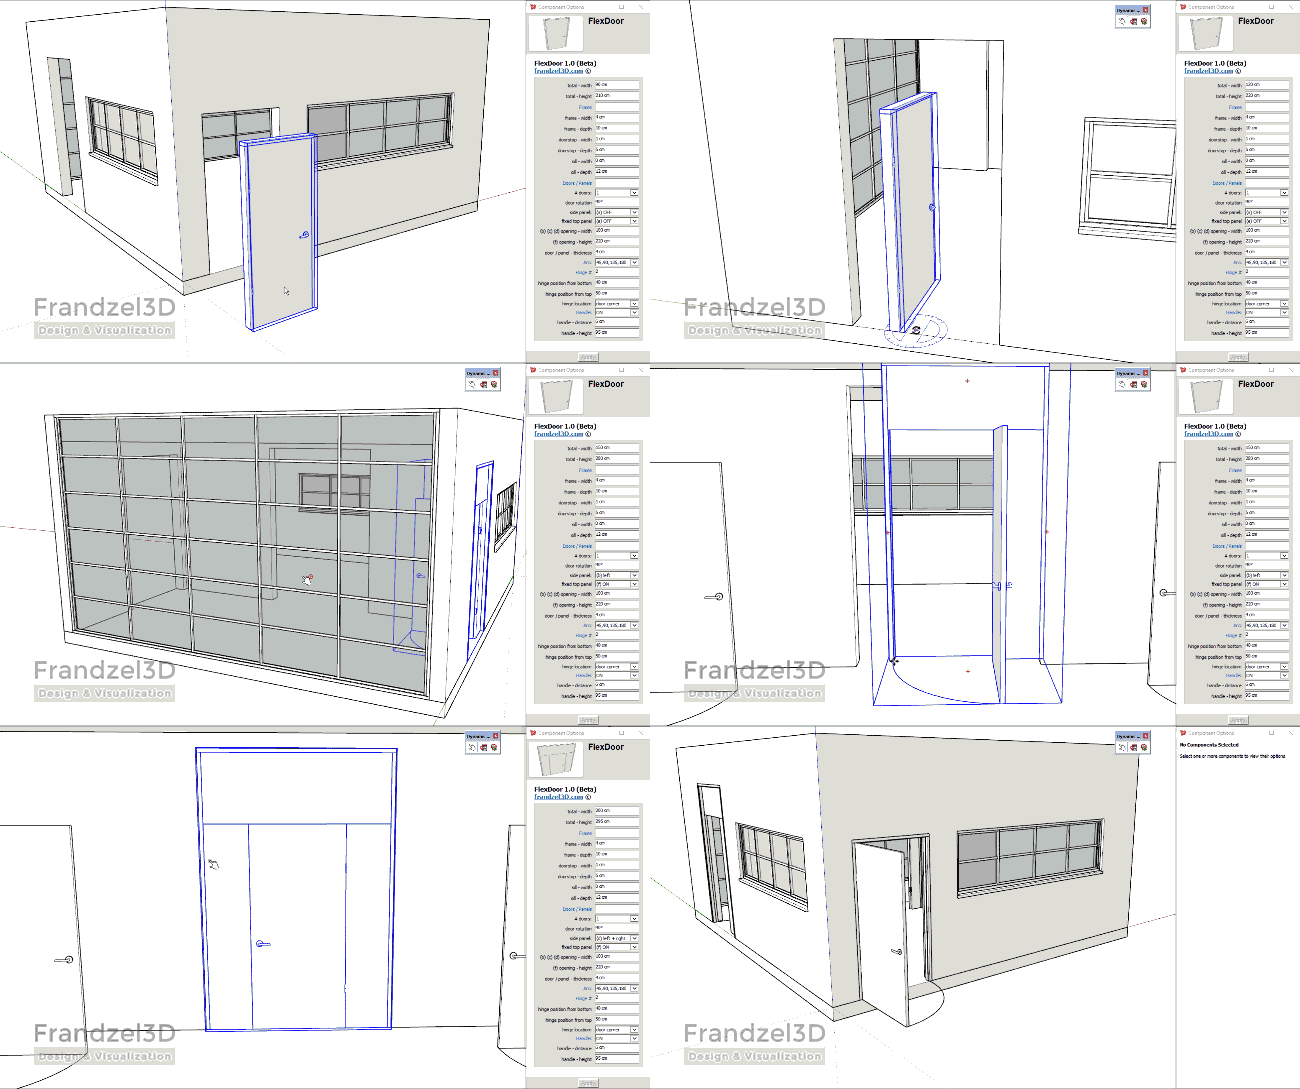
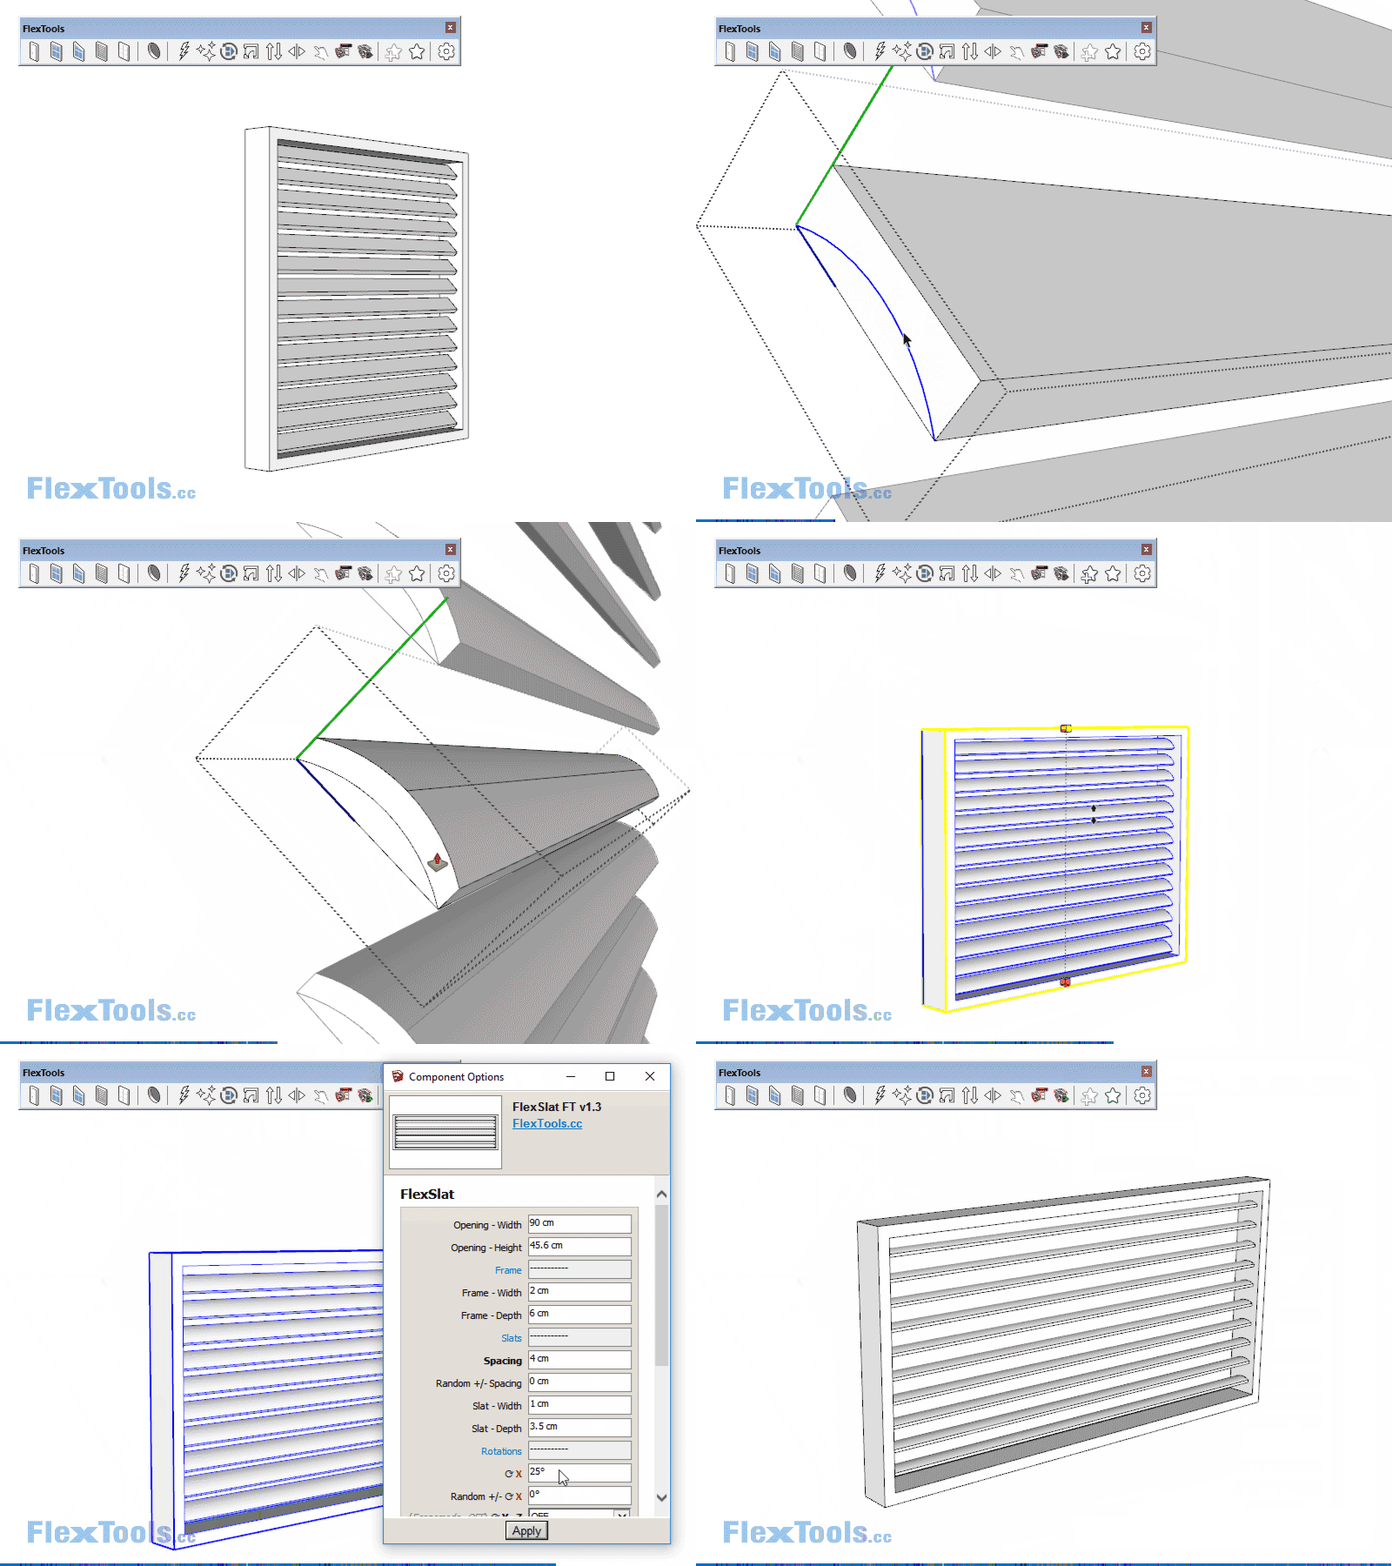
To add glass divisions you will sometimes need to go into the window/door component to reach more settings. With the 'Select Tool' double click on the component and select the inner sub-components to see more settings. Sometimes you need to go more than one level deep to reach the settings you need.
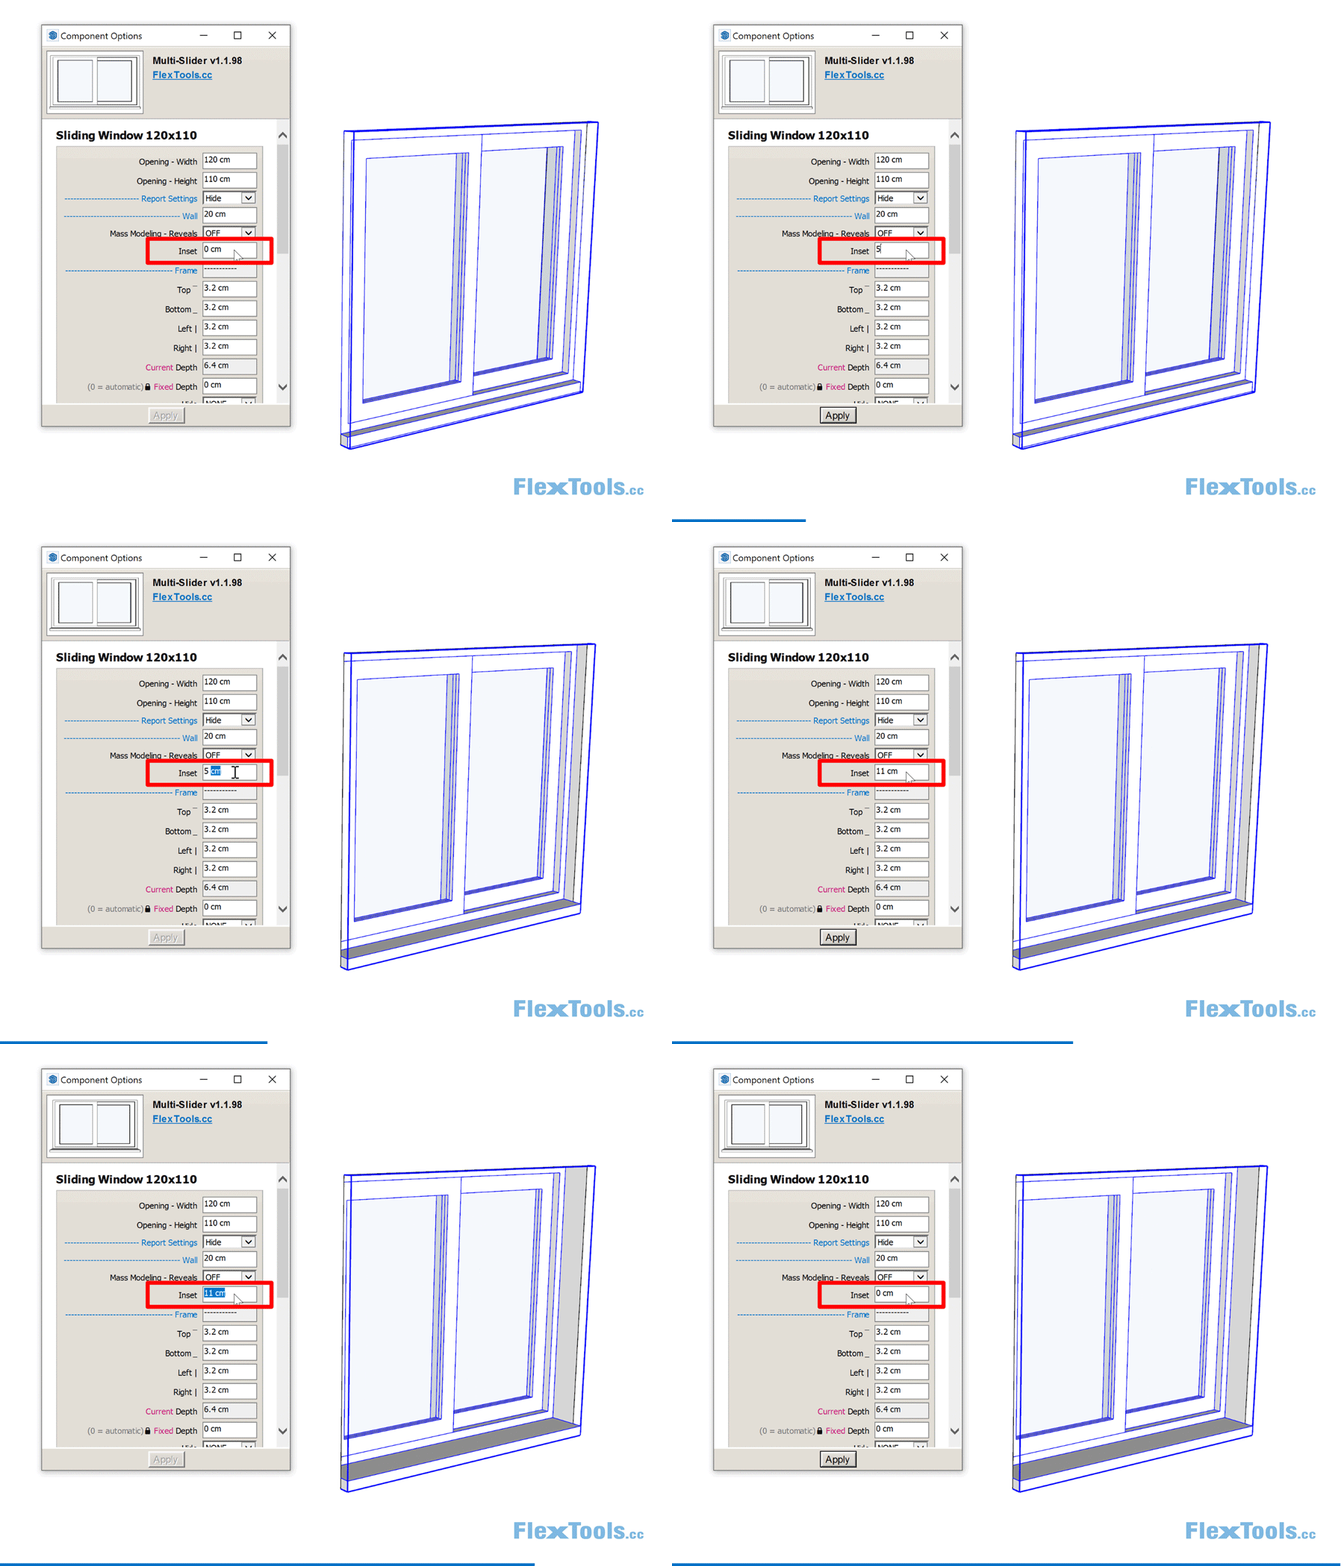
3. To shift a window in and out in relation to the wall it is placed on, open the Component Options window and change the Inset setting.
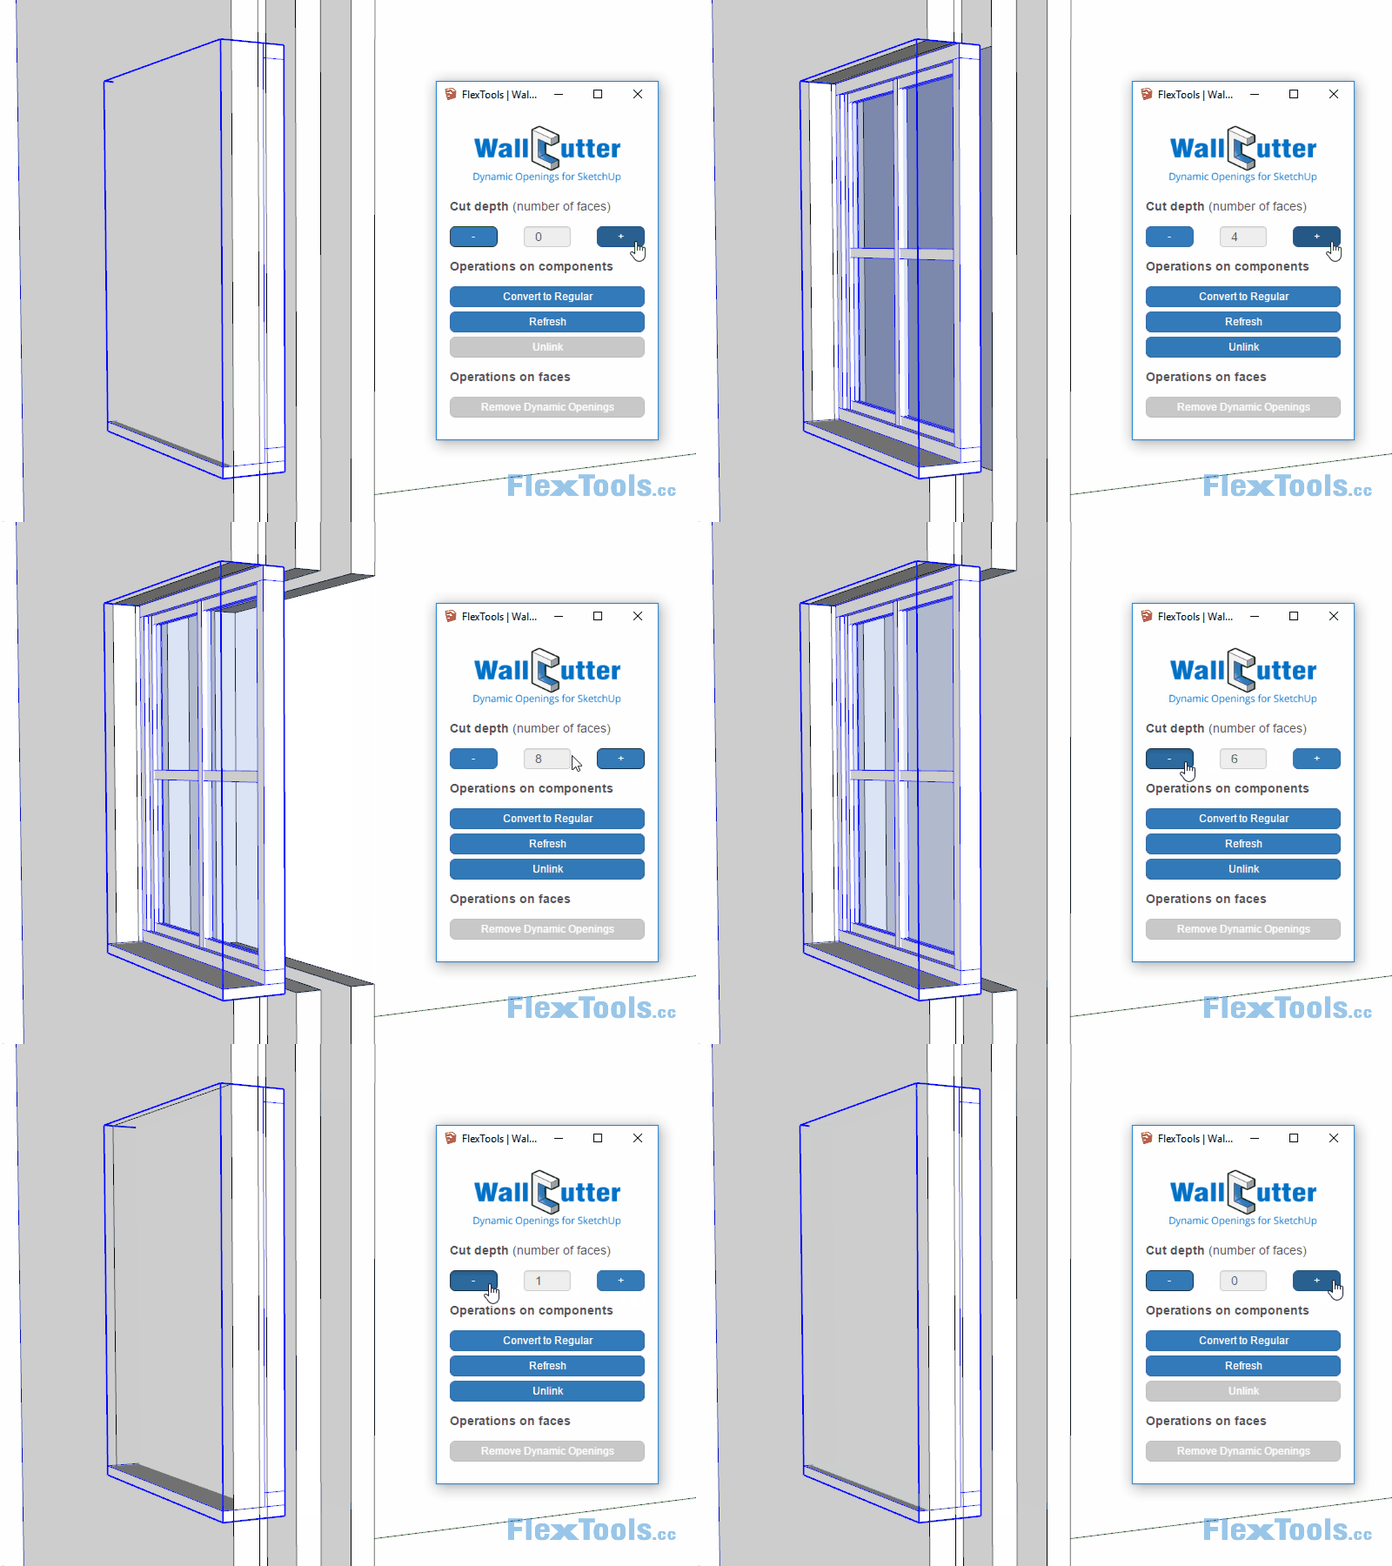
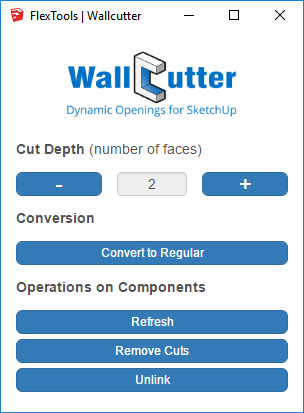
4. If you need to cut through multiple layered walls, change the Cutting Depth in the WallCutter options window.

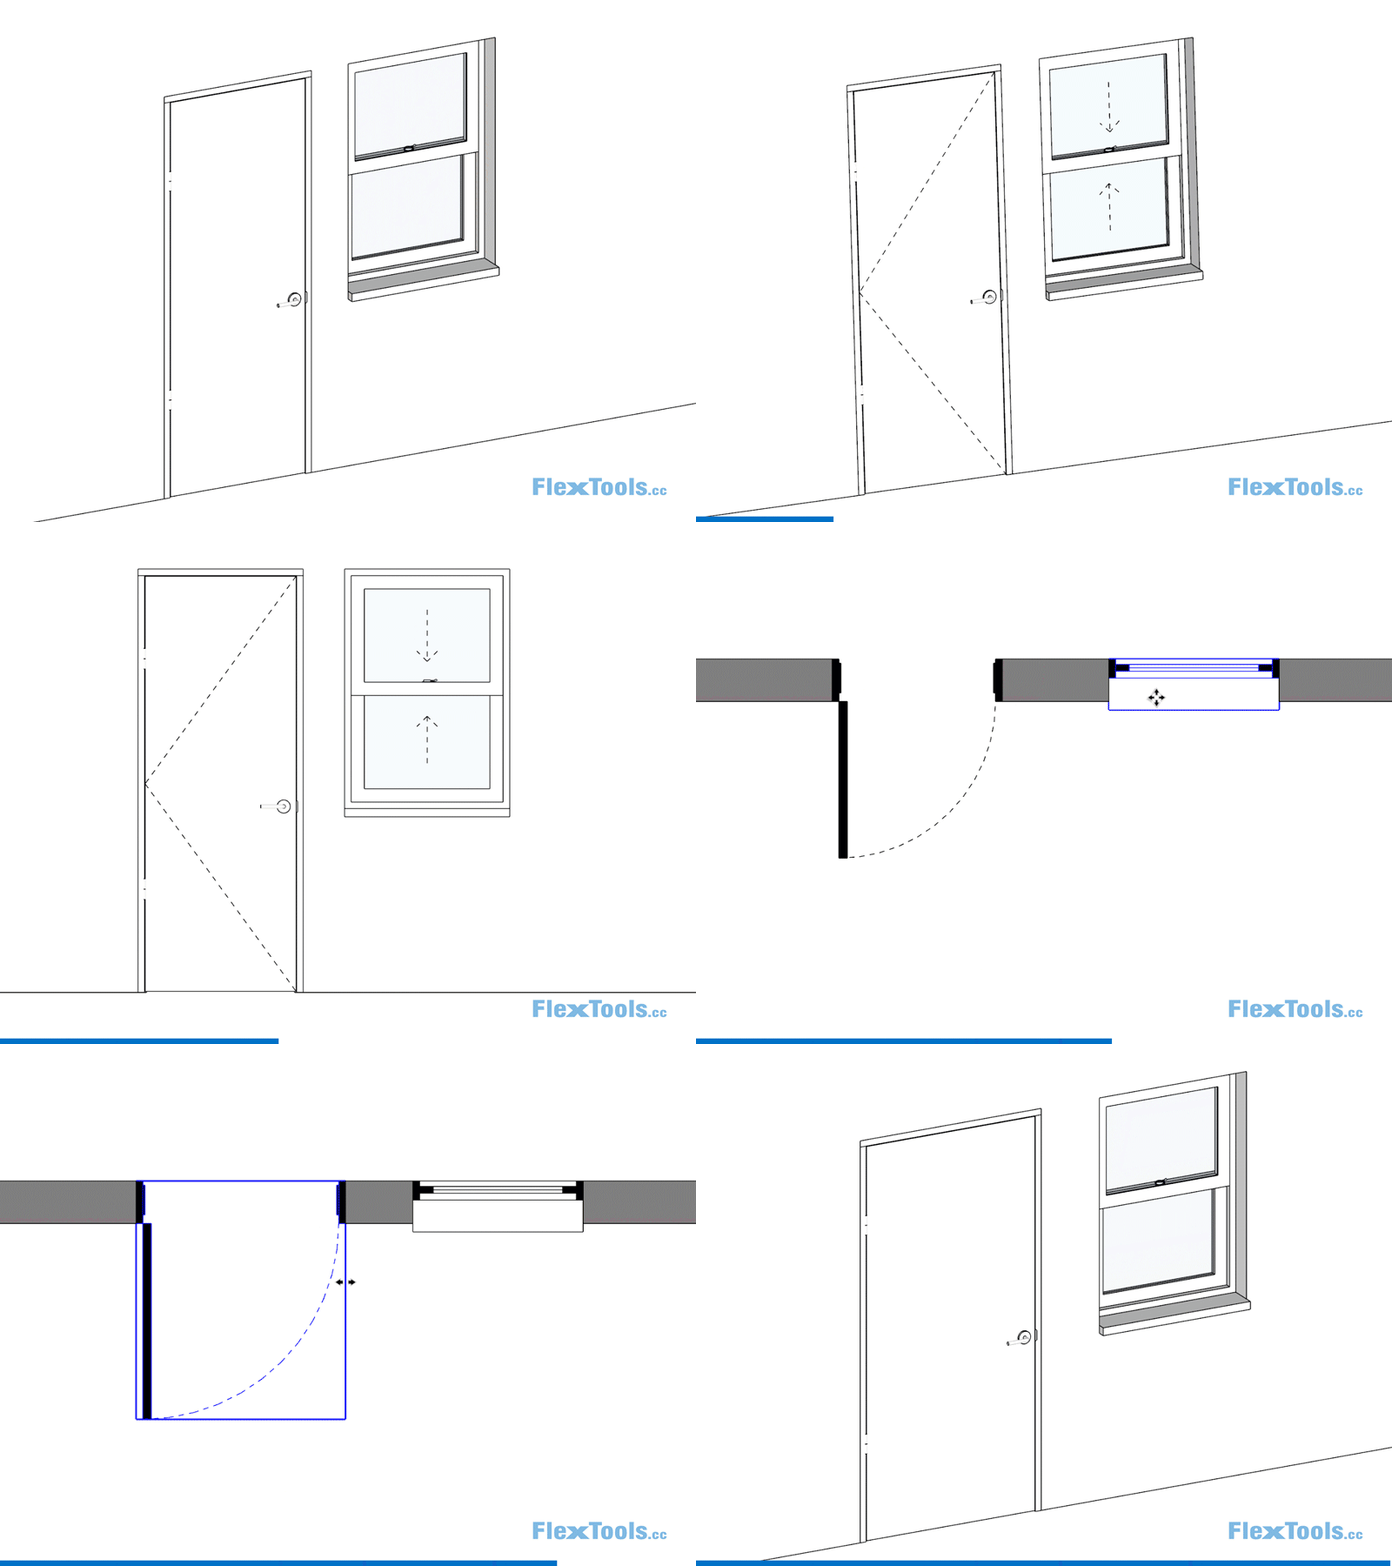
5. Copy the component around the model. Scale and edit each copy as desired.
In this example the components are scaled into existing openings (Cutting Depth set to 0)
6. Save the component with ComponentFinder. You can then quickly pull it back in when you need it again.

Pulling in a component and saving it back with changes
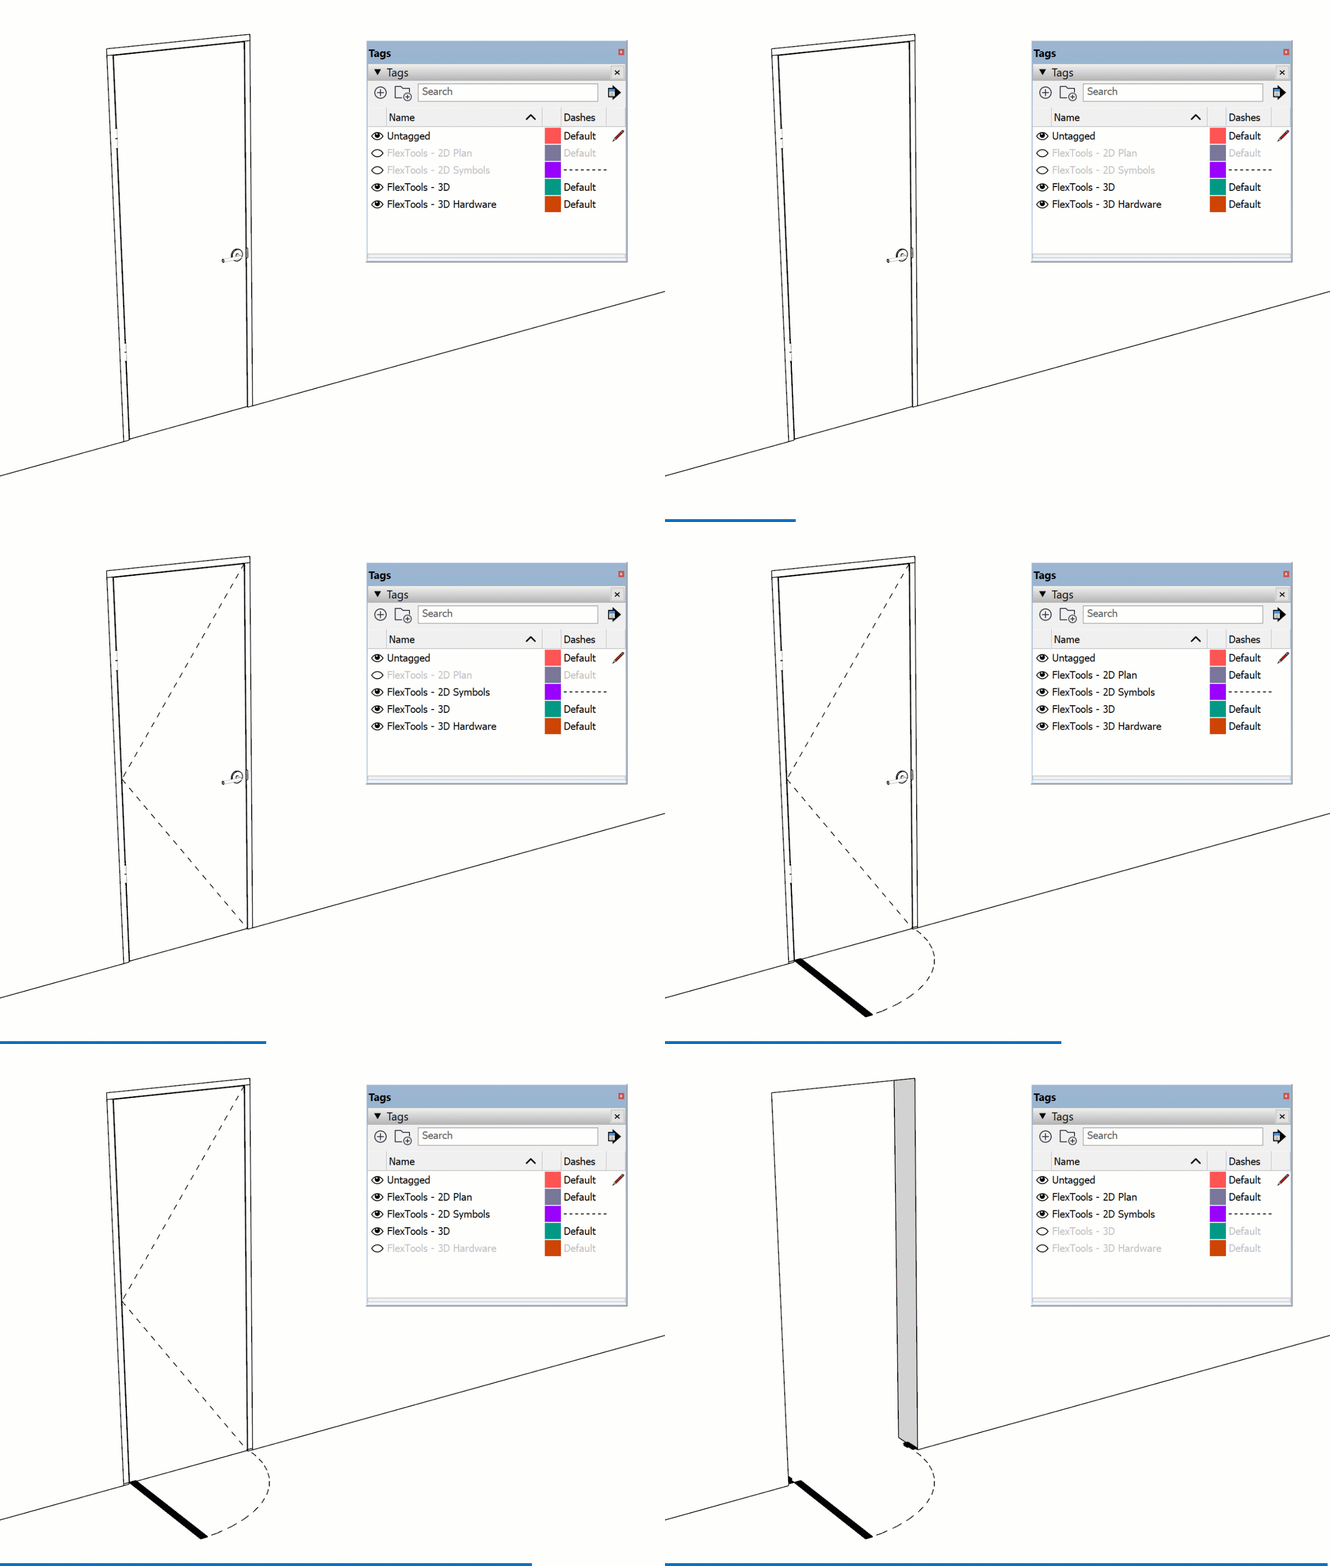
9. Use the tools from the Toolbar for fine tuning and extra control:
- Flip Tools to flip the direction of doors, windows and any component.
- Open/Close to open and close all the door in the model,
- Zapper to disable the dynamic properties of a component for manual fine tunings,
- Cleaner to make it cleaner and leaner,
- . . .
Workflow with existing wall openings
Flex components automatically cut openings through double faced walls by default. If you do not want a component to cut an opening, convert it into a regular non-cutting unglued component in the WallCutter options window.



![Reverse blue faces for wallcutter to work Reverse blue faces for wallcutter to work [Image]](https://flextools.cc/wp-content/uploads/2019/08/Reverse-faces-and-refresh-for-wallcutter-to-work.png)
