Quick Overview
ComponentFinder is a tool for quickly filtering and managing your components, all within Sketchup.
Our friend Minh Tran from Architecture Inspirations did an excellent job explaining how to use ComponentFinder.
Note that there have been many improvements since the video
📌 Read below to to see all the features
Getting Started
After installing you will find ComponentFinder on the FlexTools toolbar:
If you have FlexPack Pro installed - it will look like this:

If you downloaded the free version of Component Finder it will look like this:

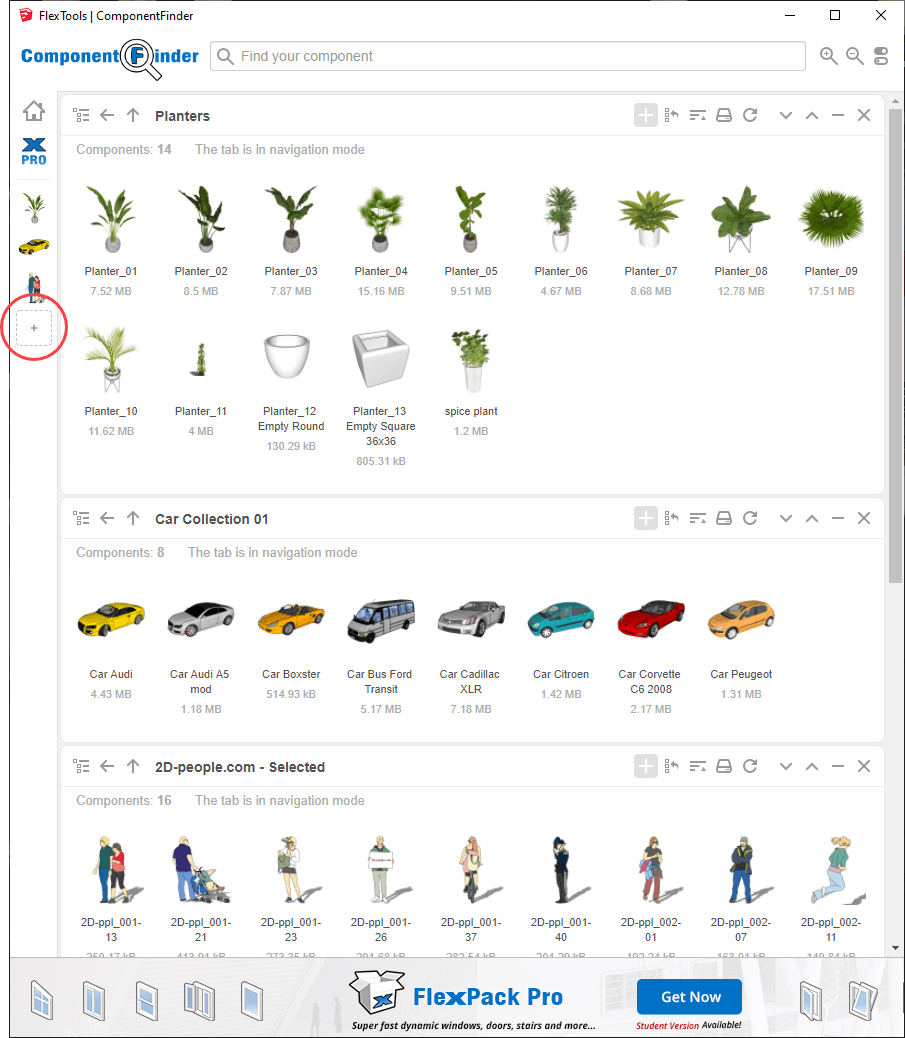
Add Folders
First things first, choose which folders from your hard drive you're going to work with, and open them in ComponentFinder.
Click and choose a folder (or folders) from your hard drive.
Each folder will appear as a separate ComponentFinder tab. In each tab you will see all the skp files in the folder, including files in *sub-folders.
*you can later change how each folder is viewed.
Search and Find

Enter keywords to filter through the open tabs. Matching components will be displayed.
Place Components
Click on any component and place it into your model.
Zoom In / Out

Make the thumbnails larger or smaller.
View Options

Show or hide file Names, Sizes and Date Modified.
Folder Tab Views
In each folder tab you have two ways to view the components:

Flat View (Default)
See all the components in the current folder and in all of its sub-folders and in their sub-folders... (up to 5 levels deep).

Nav View
The familiar browsing view of folders and components. Great for navigating and focusing on a specific folder and its contents.
Save Selected Components
You can save a component directly from your model into a folder using Component Finder. Let's say you've made some changes to a component and you want to save it for later use, or you've opened a model that has all kinds of components that you would like to use in other projects.
Select the component, find the folder you want to add the component into and click on its blue [+] button - The file will be saved.
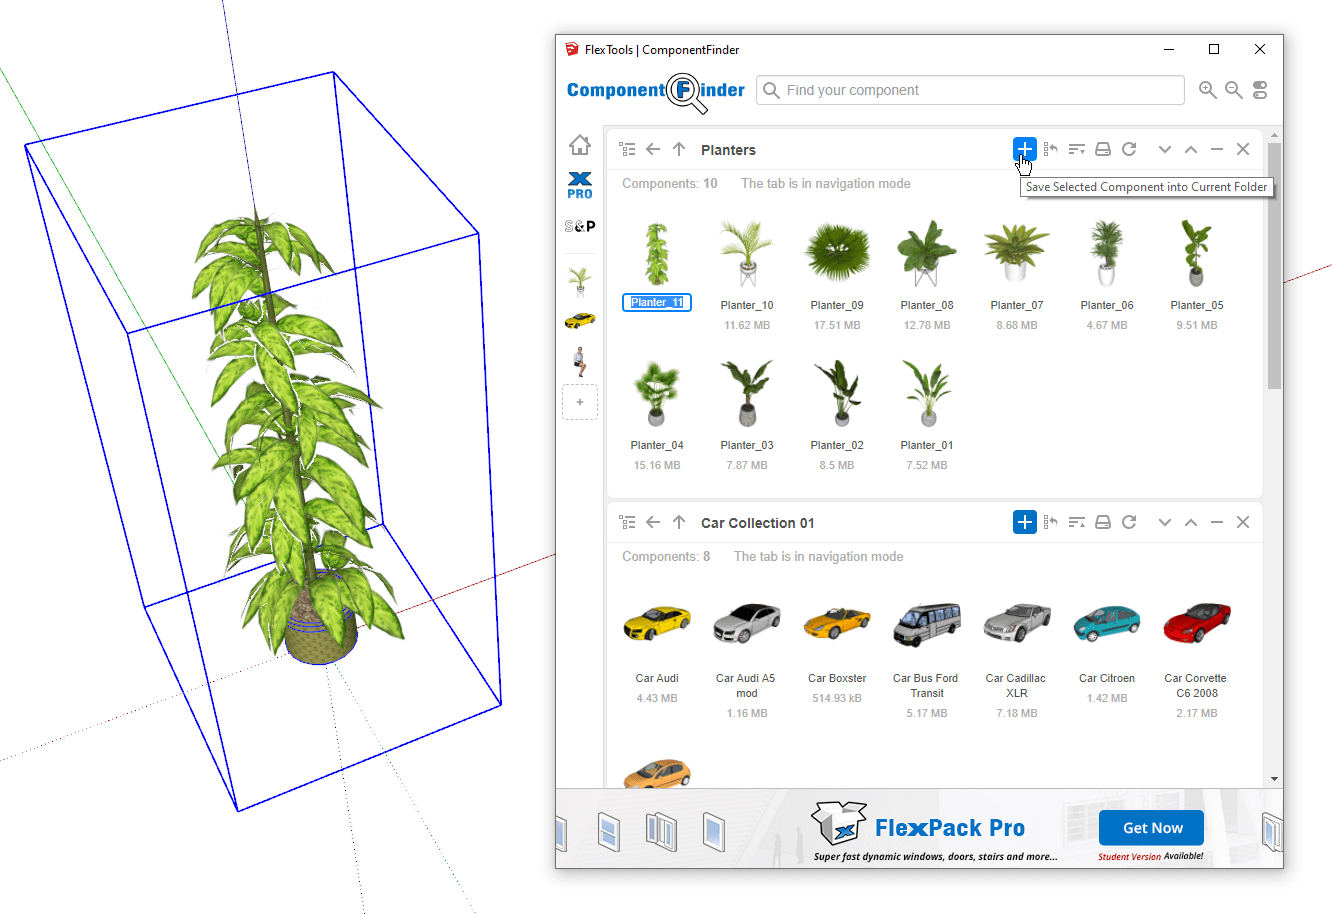
Select multiple components in your model and save them all into a folder.

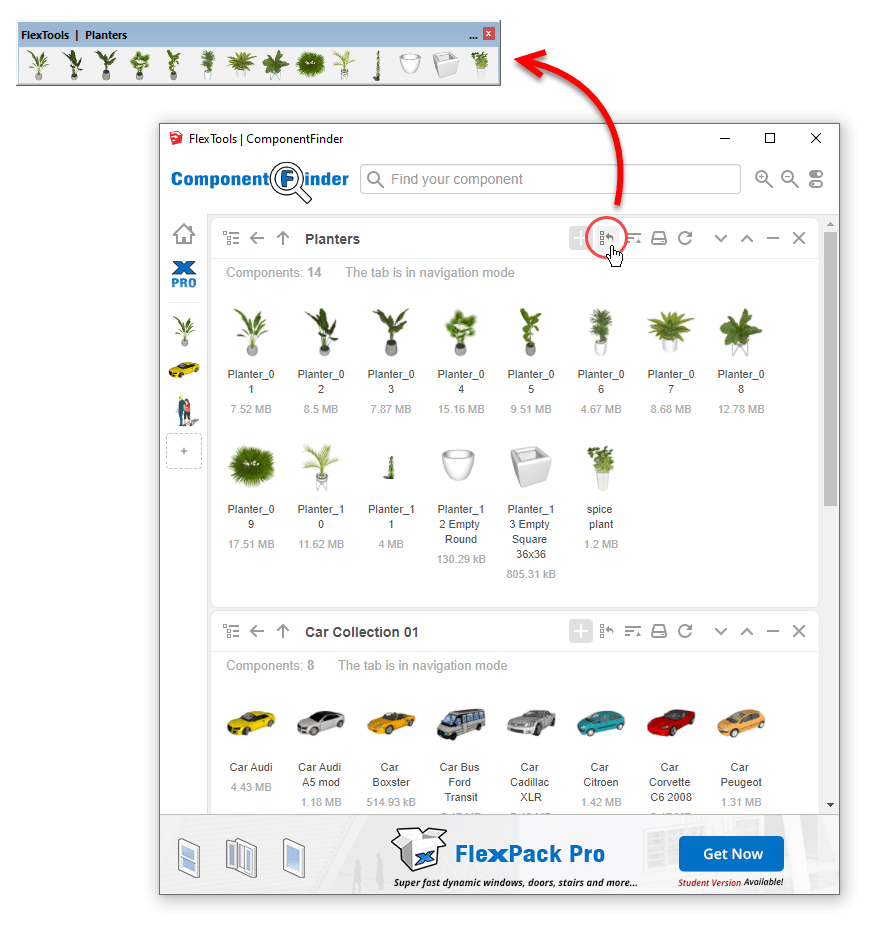
Create Components Toolbar

Make a toolbar from any folder in one click.
Component toolbars can be docked on any side of the screen and will stay in place from session to session until they're closed - just like regular Sketchup toolbars.

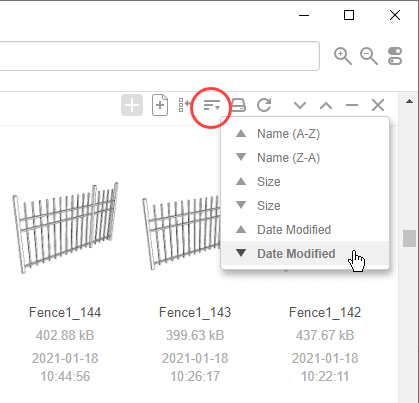
Sort Components

Sort components by their Name, Size or Date Modified.
Open The Source Folder

Click to open the original folder in Windows Explorer / Mac Finder that the current folder tab is referring to.
Refresh Folder

If you've made file and/or folder changes in Windows Explorer / Mac Finder, you may need to refresh ComponentFinder's folder tabs to see the changes. Click to refresh.
Right Click Options
Model Finder
In ComponentFinder you can find, sort, open and save not only components, but your project models as well!
To save your current model into ComponentFinder Click on the 'Save Model' button at the top of the folder tab.
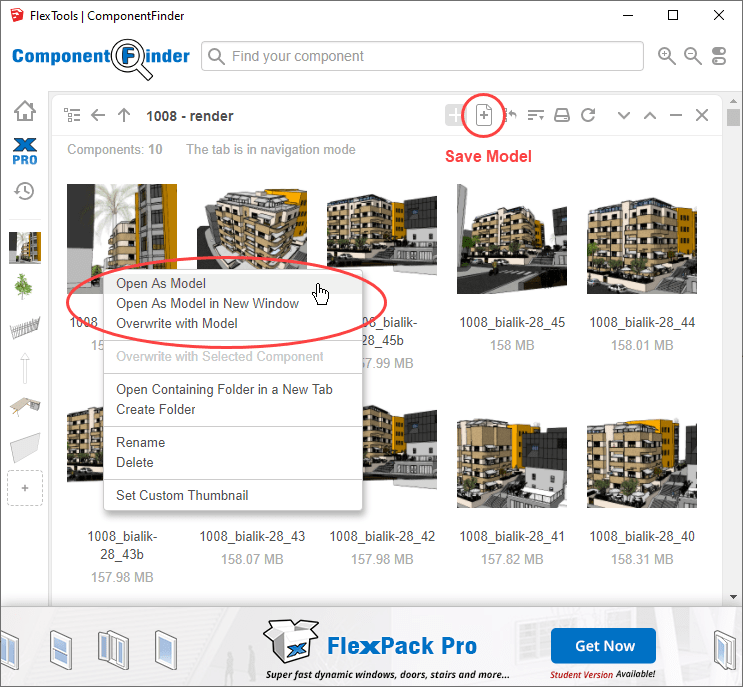
To open a component as a model: Right Click > 'Open as Model'
To replace it with the current: Right Click > 'Overwrite with Model'
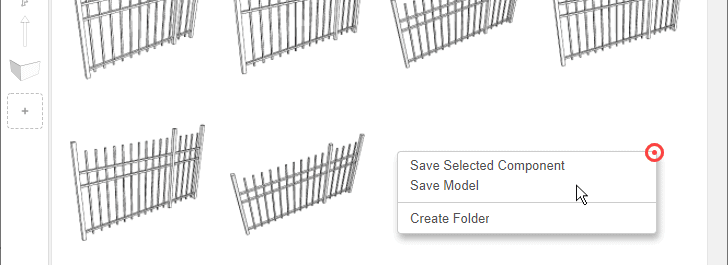
Another way to save quickly into a folder: Right Click in empty space > 'Save Model' (or Component).
Overwrite with Selected Component
This saves a component you've selected in the model, over the component you just right clicked on. (Model => ComponentFinder)
Use case example #1:
Let's say you have a component in your library that you want to make changes to, and then save it back.
- Pull it in. Make your changes.
- Right click on the original in the ComponentFinder folder tab >
Replace with selected instance=> The component in the library is updated.
Use case example #2:
This is also a great way to quickly update component thumbnails.
- Pull in a component
- Change the camera view
- Right click on the component >
Replace with selected instance=> Thumbnail updated.
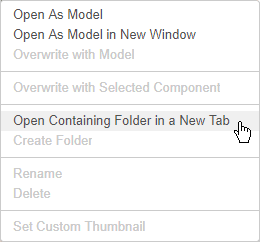
Open Containing Folder in a New Tab
This will open a new folder tab pointing to a folder where the right clicked component is located.
Use case example:
Let's say you have a folder called People. In that folder you have another folder called People-3D and a lot of other folders with all sorts of people. You open a ComponentFinder folder tab that is pointed at People. It's set to Flat File View since you want to see all your people in one place. What you want to do is save a 3D dude from your currently open model into the People-3D folder.
If you were to click on the blue [+] button, the save dialog would open into the root folder (People) - Probably not where you want to save your lovely 3D dude to. Instead,
- Right click on another 3D dude that is already in the currently open folder tab >
Open containing folder in a new folder tab=> Voila, the People-3D folder is open! Now you have a better view of where you're saving to. - Click on the [+] button on the newly opened folder tab to save the component.
Rename
Rename the component for easy searching.
Delete
Say bye-bye 
Warning
Set Custom Thumbnail
Feel like jazzing up SketchUp thumbnails with your own? Want to see your rendered images instead of V-ray proxies?
You can now assign your own thumbnails with custom images:
Right Click > Set Custom Thumbnail > Choose a JPG or PNG
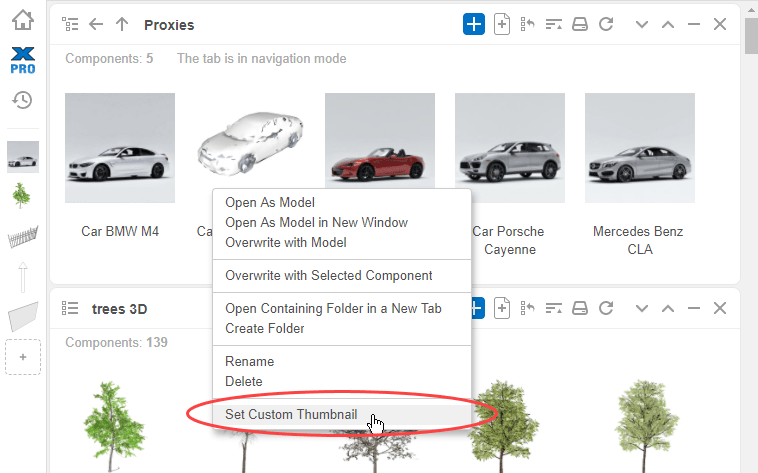
The thumbnail image you assign will be automatically copied into the folder where the component is stored, and it will be named with the same name.
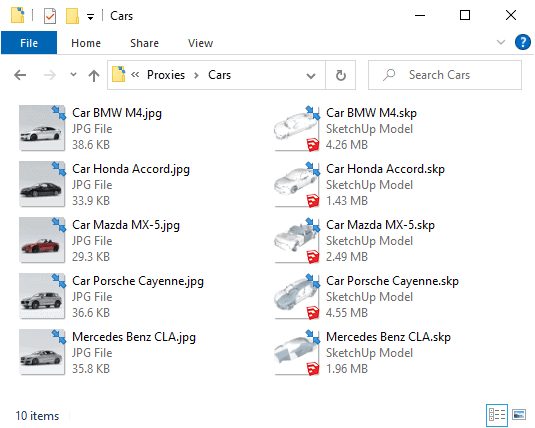
View in Windows - custom thumbnails are saved along side the skp files
In-Model Components

Click on the 'Home' button (or double click below the search field) to open the 'In-Model' components tab.
In-Model Tab Views
The In-Model tab shows you components and groups that are currently in your model.
It also has 2 different viewing modes, but they are a bit different from the regular folder tab views mentioned above.

Top-Level View (Default)
See all the components that are in the Top-Level, i.e., that are not contained within any other components.

View All
To view all components, and all sub-components and groups that are in the model.


Refresh The In-Model Tab

Usually the In-Model views will refresh automatically when new components are created/added/deleted... If, for some reason, something is missing, or you purged the model and the changes aren't visible, click to refresh, and you will see all the components as you would expect.
Right Click Options
Select Instances
Select all the instances of the component definition in the current model context.
Save as
Save the component out into Window Explorer / Mac Finder.
Delete
Deletes the component definition and all of its instances in the model.
Faster In-Model Searching
When you need to search through a lot of In-Model components consider maximizing the In-Model tab window all the way to the bottom. This can dramatically enhance search speeds.

Navigation Bar
The navigation bar on the left makes it easy to move between open tabs.
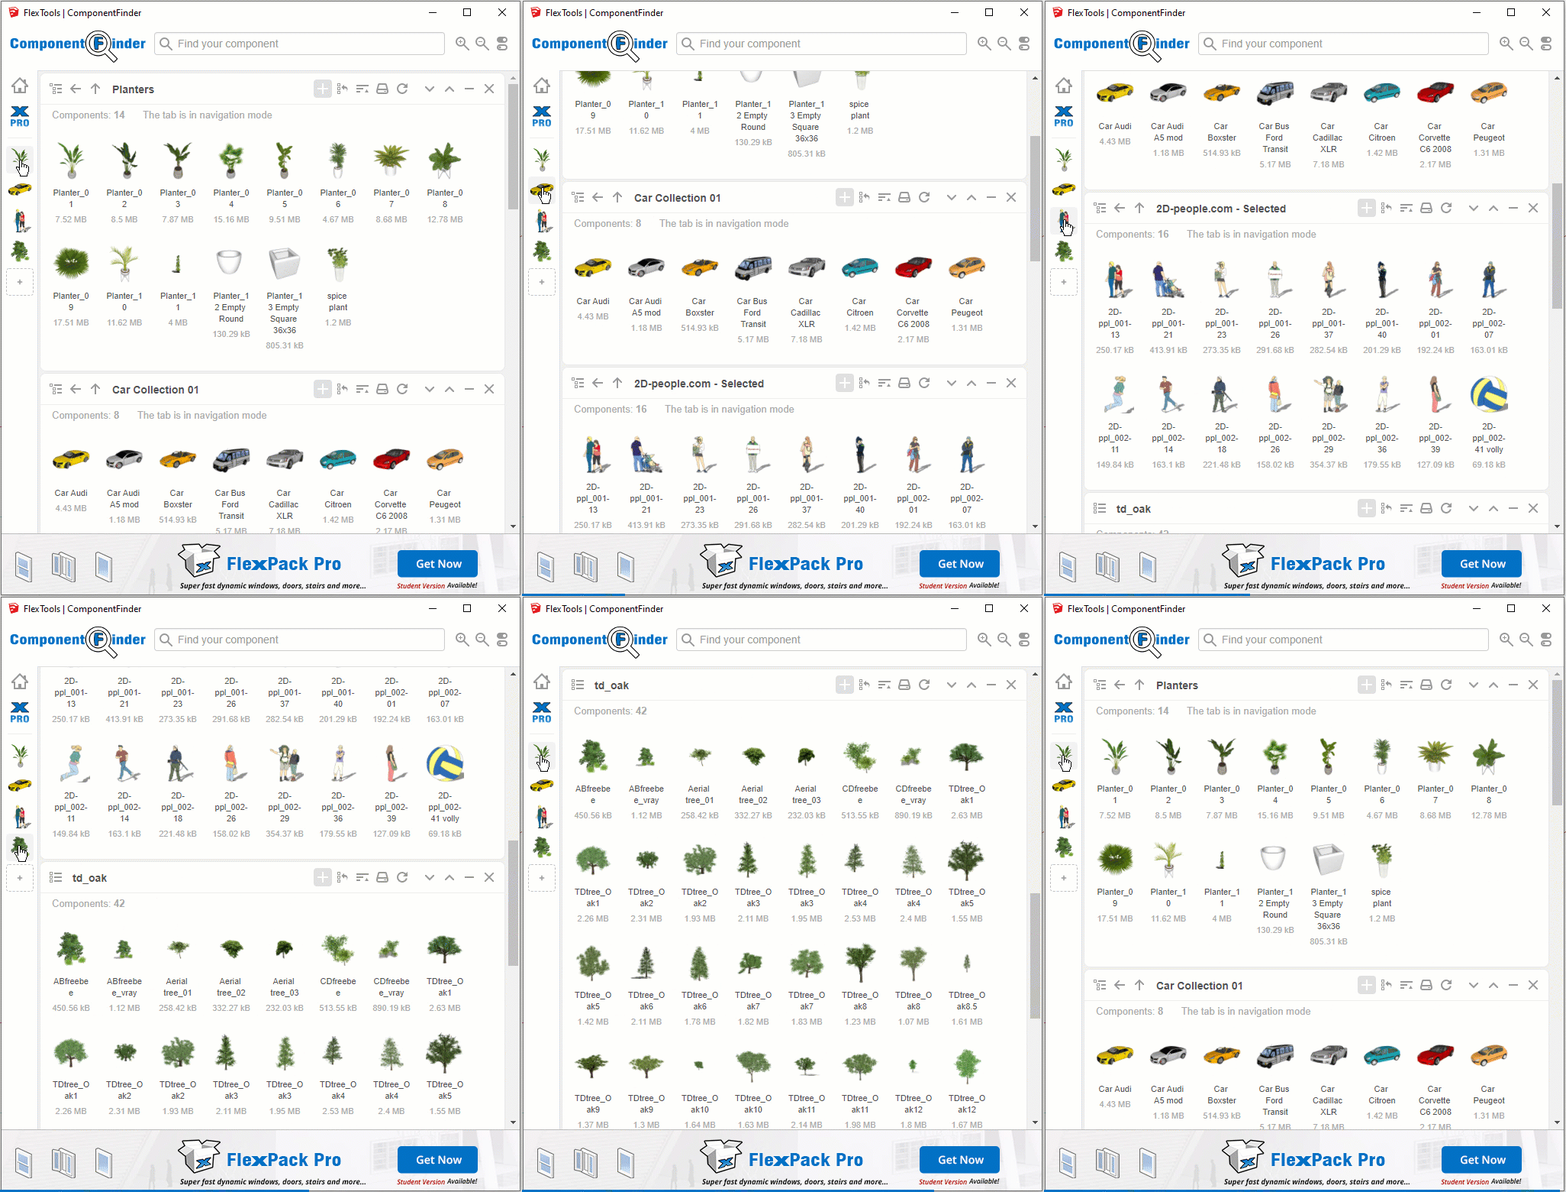
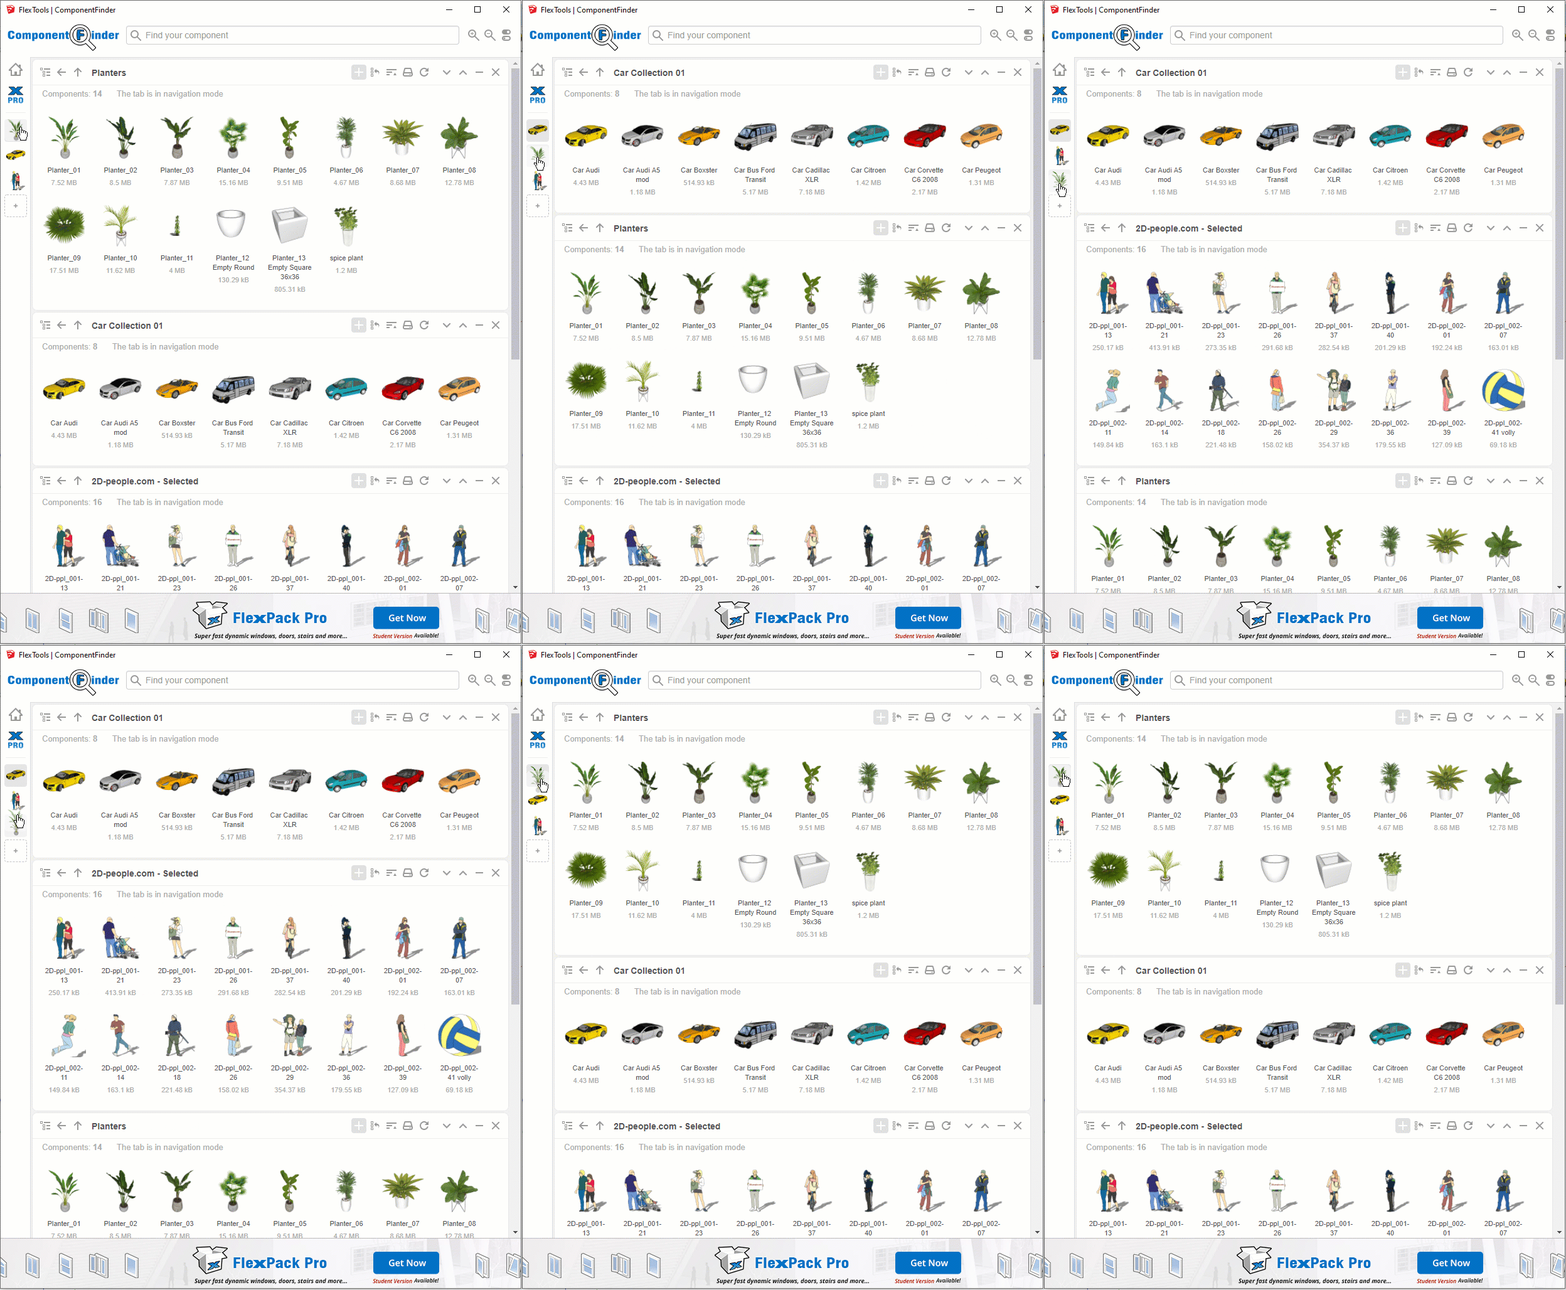
You can drag the icons up and down to change the order of the folders.
For those of you who have the FlexPack Pro package there is a special icon pinned on top of the bar, so any of the default Flex components can be pulled in directly from ComponentFinder.
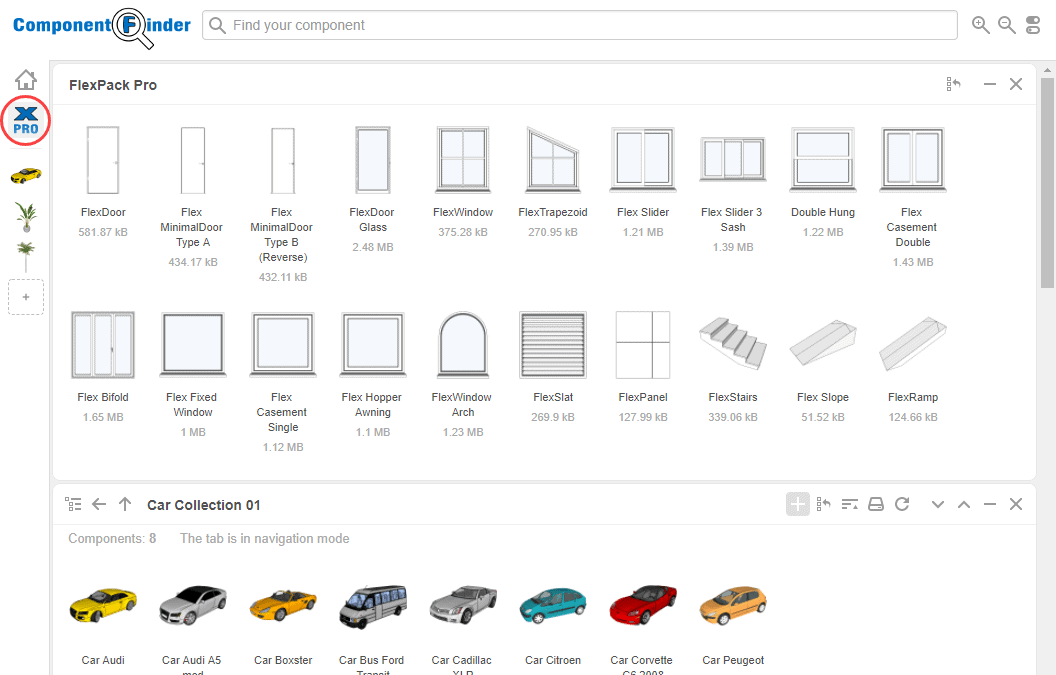
Access the default FlexPack Pro components directly from ComopnentFinder
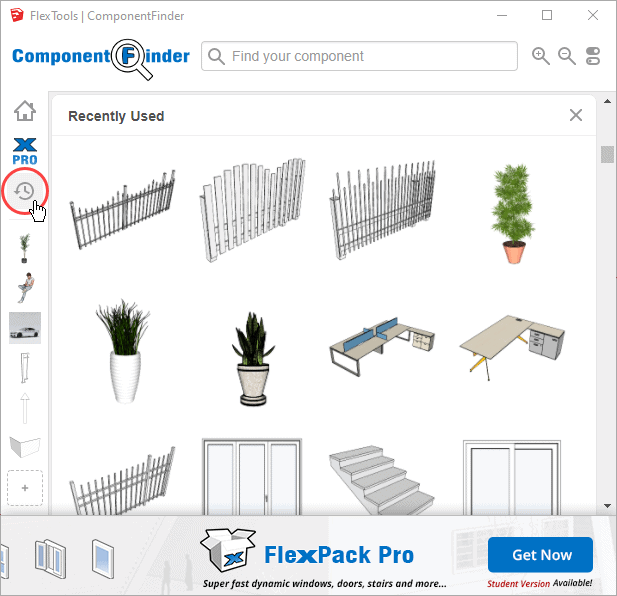
Recently Used

Reach your recently used components in one click!
📌 If you need to find the original folder where a recent component is stored:
Right Click > 'Open Containing Folder in a New Tab'
Hide the Component Finder Banner
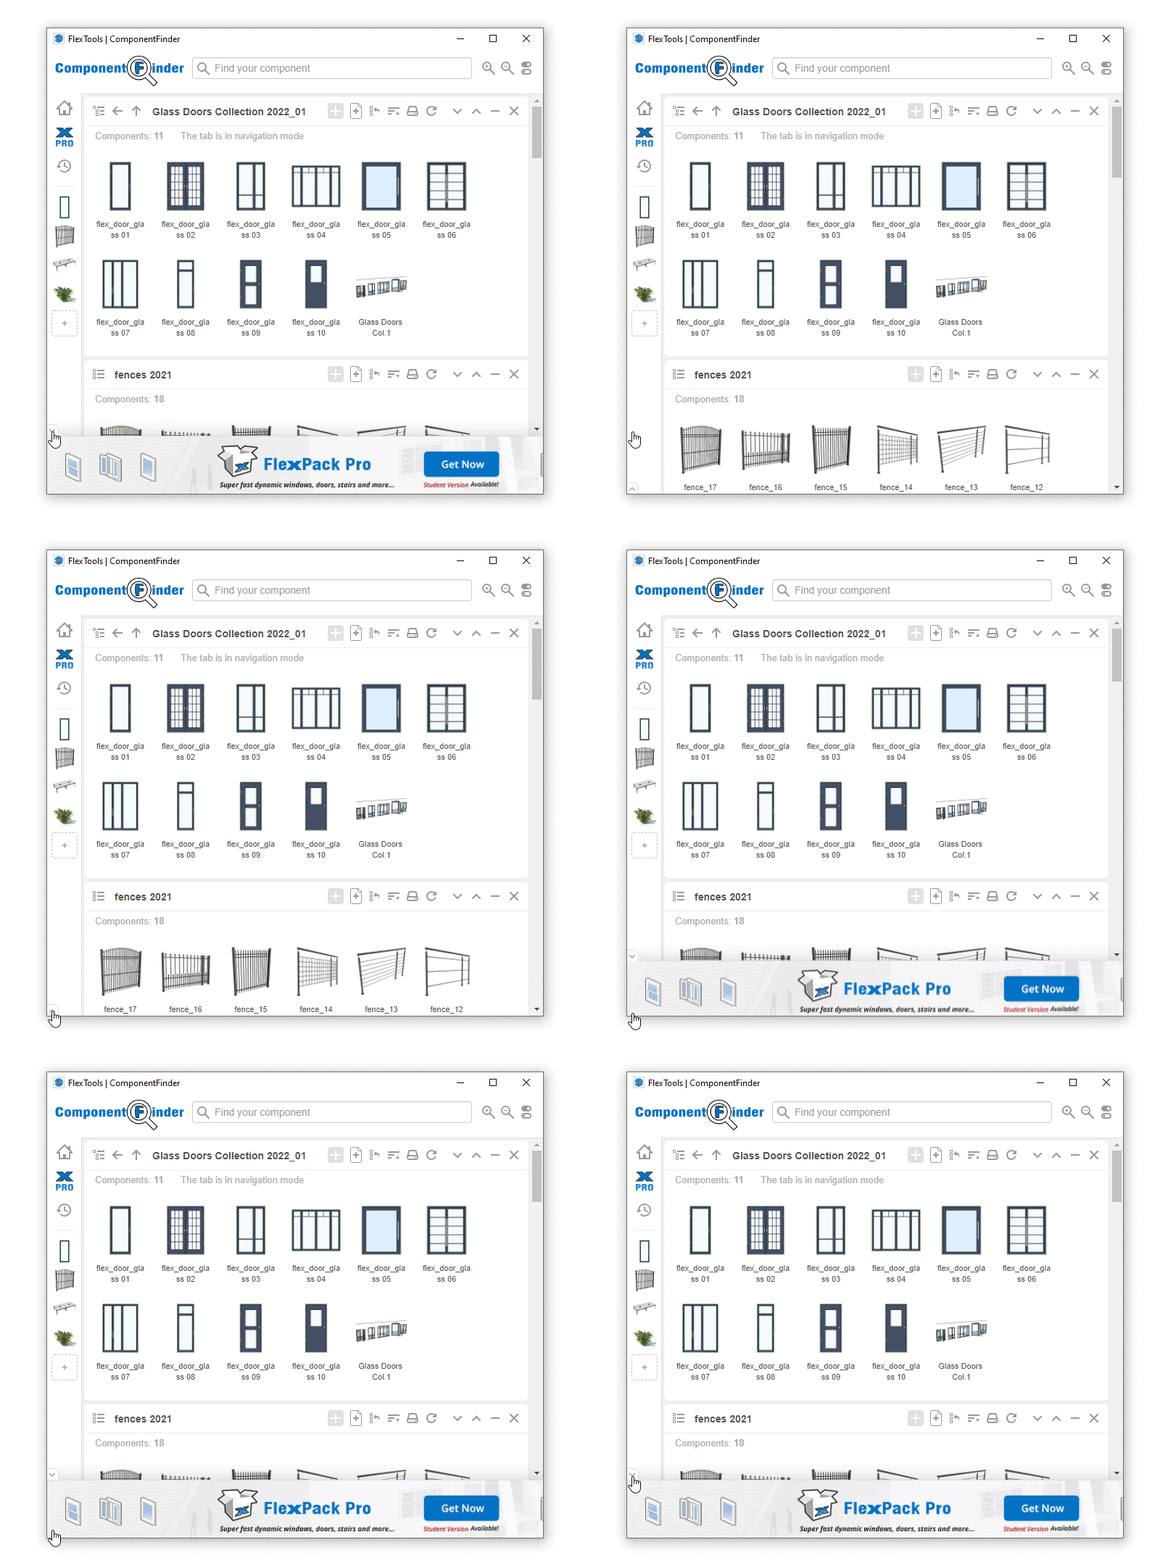
Pro customers can hide the Component Finder banner, saving that precious screen real estate.
Click on the little arrow on the top left of the toolbar and it will disappear.

